18 Start-to-End Frame AI Video Prompts for Google Flow's New Consistency Feature (Copy & Paste, 2026)

Written by
Aerin Kim
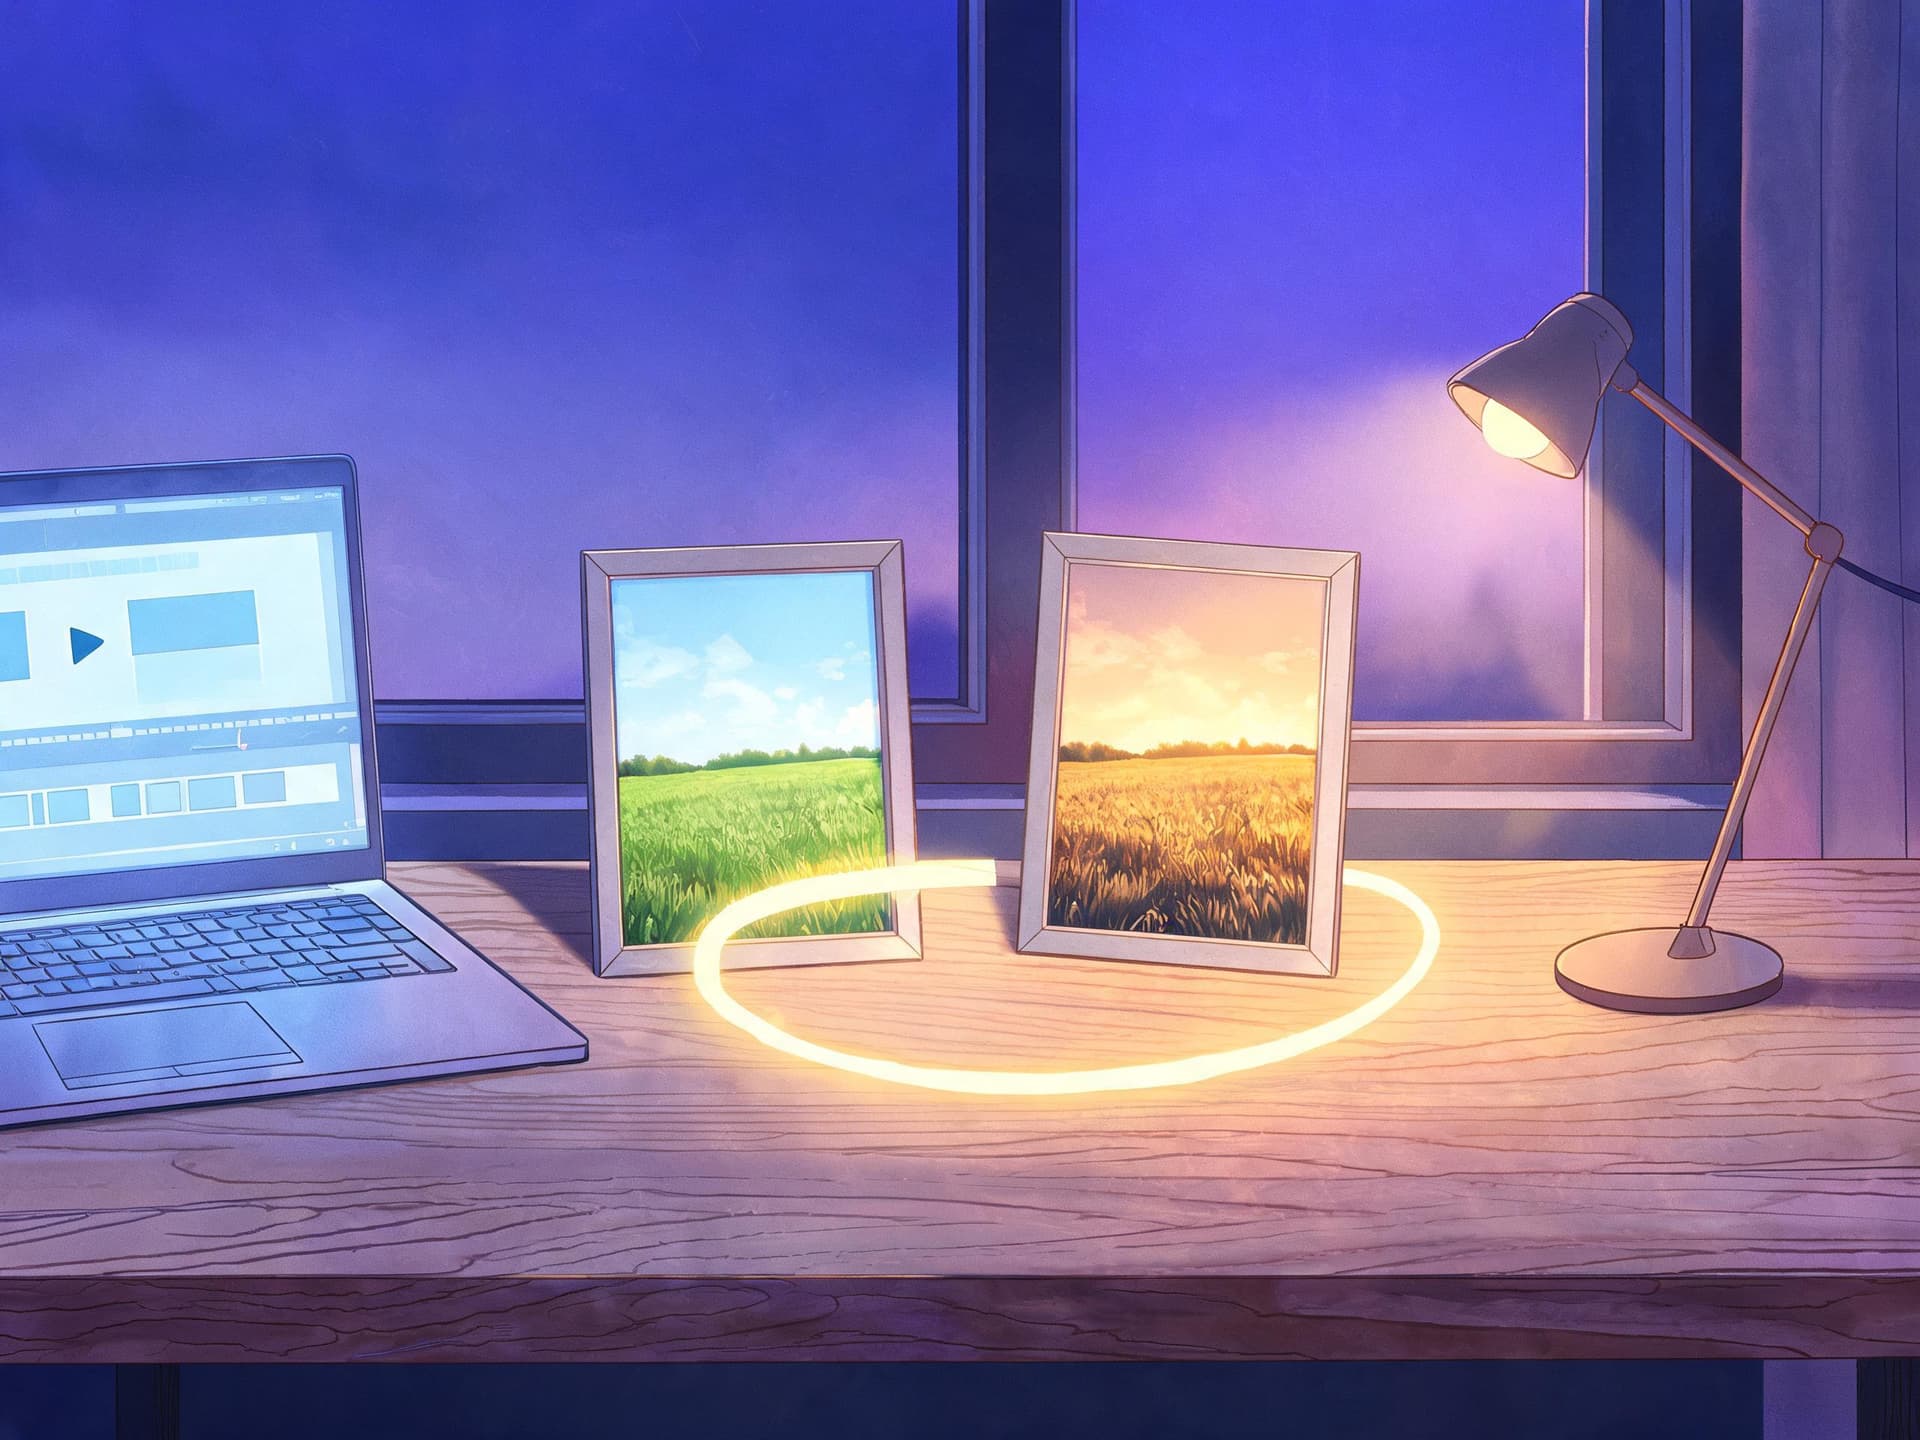
Google Flow just added start and end frame controls that fix AI video's biggest problem, drifting consistency. Here are 18 ready-to-use prompt pairs for creators to copy and paste.
If you have spent any time generating AI video, you already know the real problem is not making a clip, it is making a clip that does not fall apart halfway through. A character's shirt changes color between shot one and shot two. A room that was warm and sunlit is suddenly cold and gray three seconds later. A product floats, rotates, and somehow grows a logo that was never in the original photo. Most creators just regenerate and hope, burning credits on a coin flip instead of actually directing the shot.
Google gave this problem a real answer on August 27, 2026, when it rolled out new creative controls to Flow, its AI filmmaking tool, built on Gemini Omni 1.1 Flash [1]. The headline feature is start and end frame control: you give the model one image for where the clip begins and a second image for where it ends, and Flow generates everything in between while holding the character, setting, and lighting consistent across the whole move. The same update also added 4K export for finished clips and a faster, lower-credit 360p draft mode for testing ideas on mobile before committing real credits to a full render.
This matters well beyond Flow itself. The same two-image, one-motion-prompt structure is quietly becoming the standard way serious creators direct AI video across tools, including the reference-image workflow Google already shipped inside Veo 3.1's Ingredients to Video update in January 2026 [2]. Learn the structure once and it transfers to almost any model that accepts reference images, not just Flow.
This post is 18 ready-to-use start-to-end frame prompts, grouped by the kind of content they actually get used for: product reveals, fashion and beauty transformations, travel and real estate transitions, before-and-after progress content, and nature or mood shots. Every prompt follows the same three-part structure Flow and Veo 3.1 both expect, so you can adapt the bracketed details to your own subject and generate a real, consistent clip instead of a lucky one.
TL;DR: What Changed in Google Flow (and Why It Matters for Every AI Video Tool)
Google Flow's August 27, 2026 update added three things worth knowing before you generate anything: start and end frame control, which uses two reference images instead of one to anchor a clip's beginning and end so the model fills in a consistent motion path between them; 4K export, so a finished clip is actually usable in a real editing timeline instead of needing an upscale pass first; and a 360p draft mode specifically built for testing a concept quickly on the Flow mobile app before spending credits on a full-resolution render [1].
The practical upside for a creator is that you are no longer describing a single moment and hoping the model guesses a believable before and after. You are directing two fixed points and letting the model handle the interpolation, which is the same job a real cinematographer does with a storyboard, except the storyboard here is two actual images.
| Mode | Resolution | Best for |
|---|---|---|
| Draft mode | 360p | Testing whether a start-to-end concept holds together before spending credits on a full render |
| Standard download | 720p | Quick social posting straight from the generation without extra export steps |
| Full export | 1080p or 4K | Bringing a finished clip into a real editing timeline for color grading, captions, or music |
You can build your two reference frames with Miraflow's AI Image Generator, then bring both images into the cinematic AI video generator on Miraflow to turn the motion between them into a finished clip, all inside the browser without switching tools.
How Start and End Frame Control Actually Works
Understanding the mechanism matters because it changes how you should write the motion prompt. A single-image AI video model has to invent everything that happens after frame one, including where the camera ends up and what the final composition looks like, which is exactly why long clips tend to drift: small errors in position, lighting, or color compound with every additional second. Start and end frame control removes that guesswork from the two hardest parts of the shot, the opening and the closing composition, and only asks the model to solve the part in between.
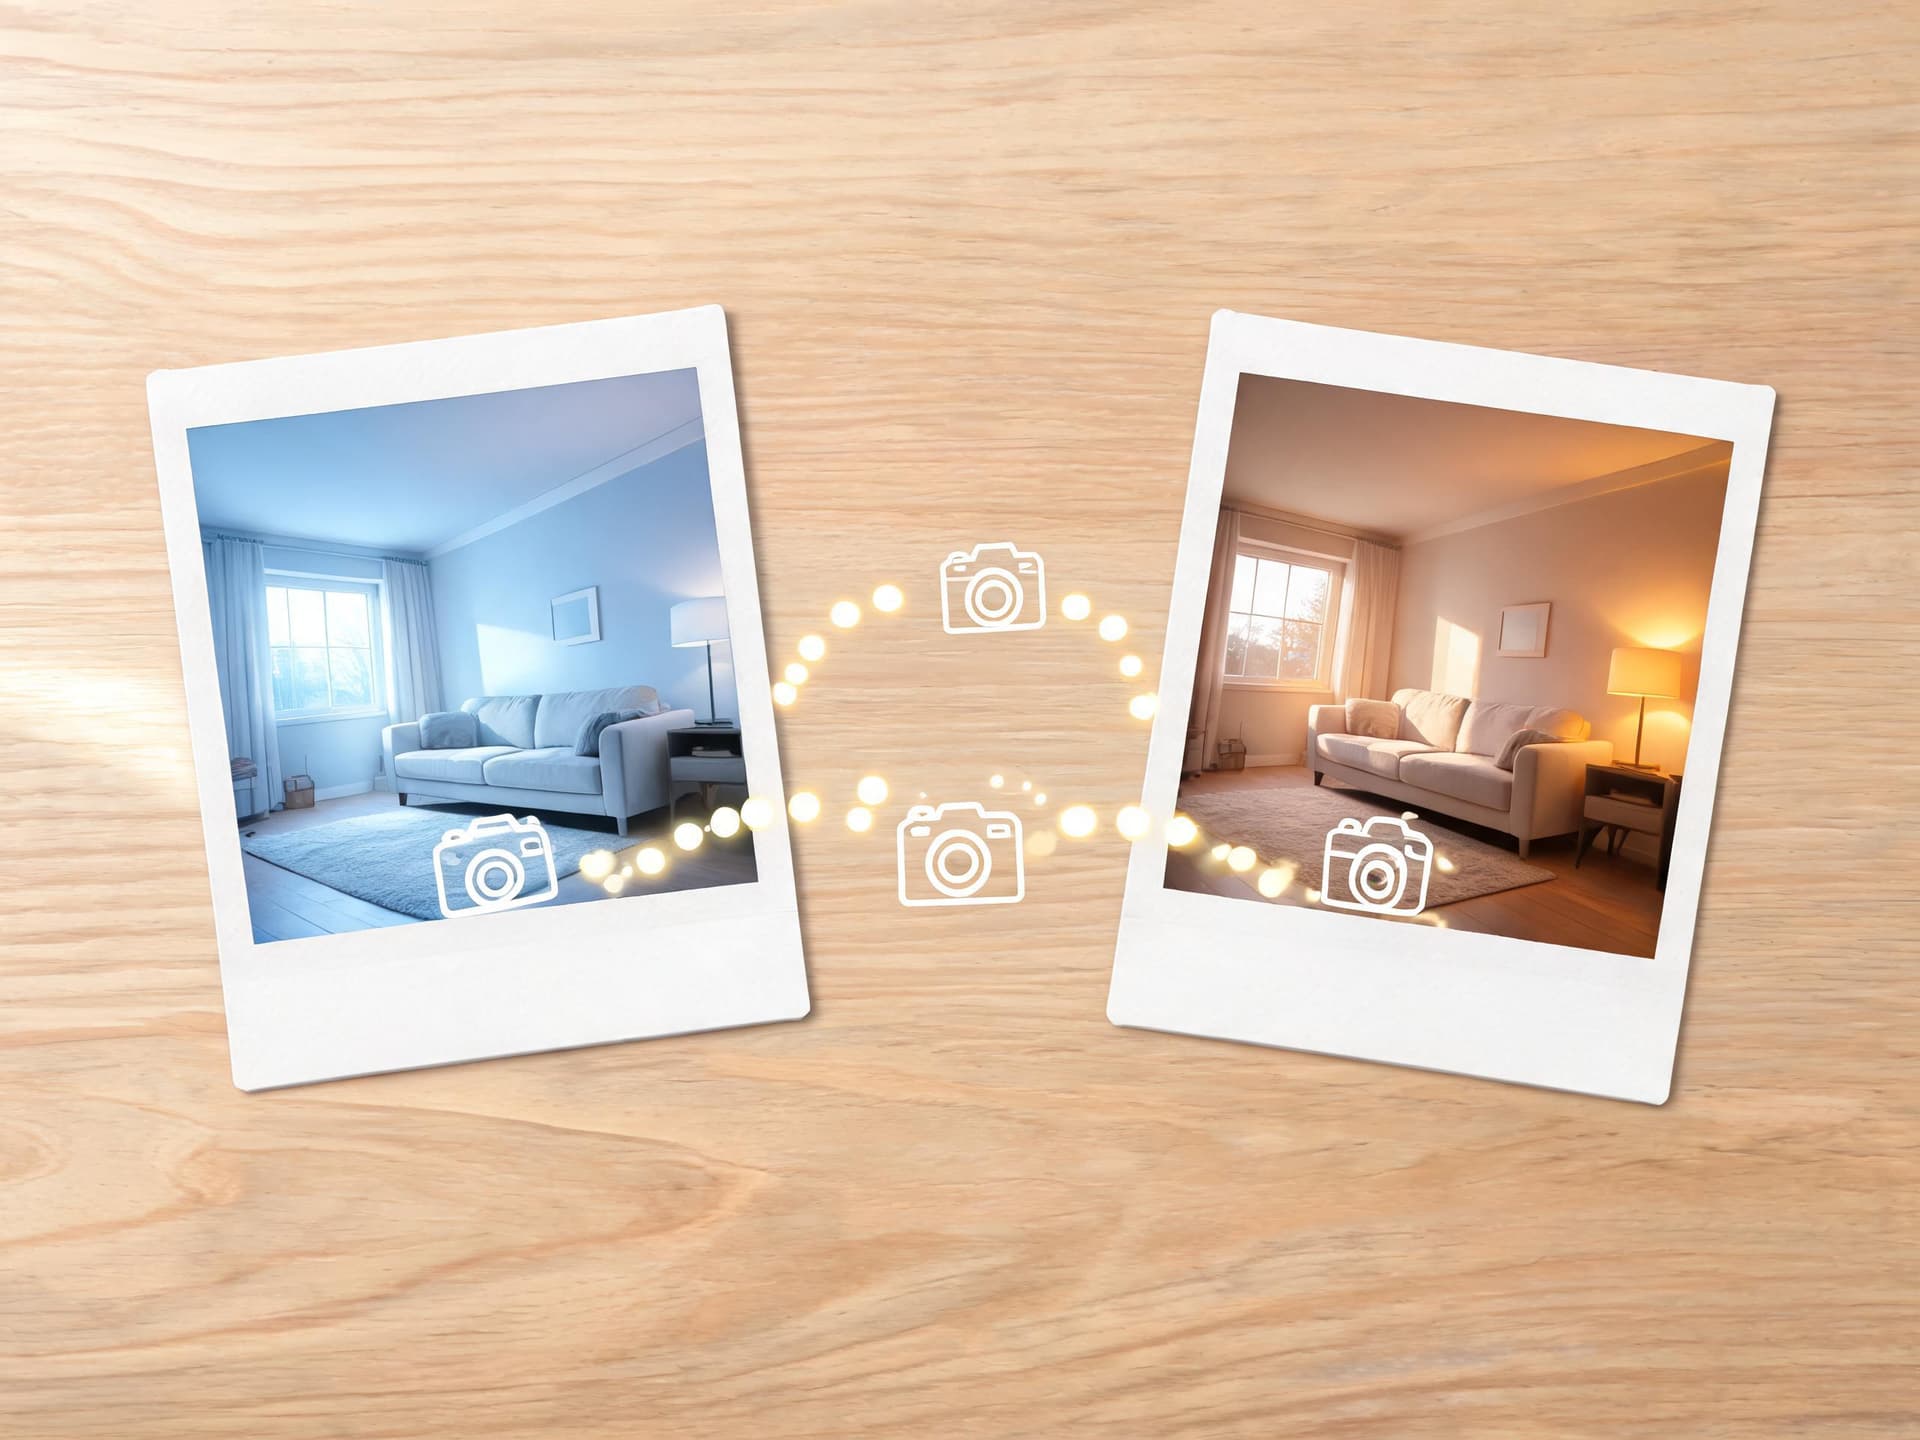
This is also why the technique is so good at the two moves creators actually want most: a believable before-and-after, and a smooth transition between two places or looks that would otherwise require real footage and real editing. If you already know what your opening shot looks like and what your closing shot looks like, a start-to-end frame prompt is a more reliable way to get there than trying to describe the entire journey in one giant text prompt and crossing your fingers.
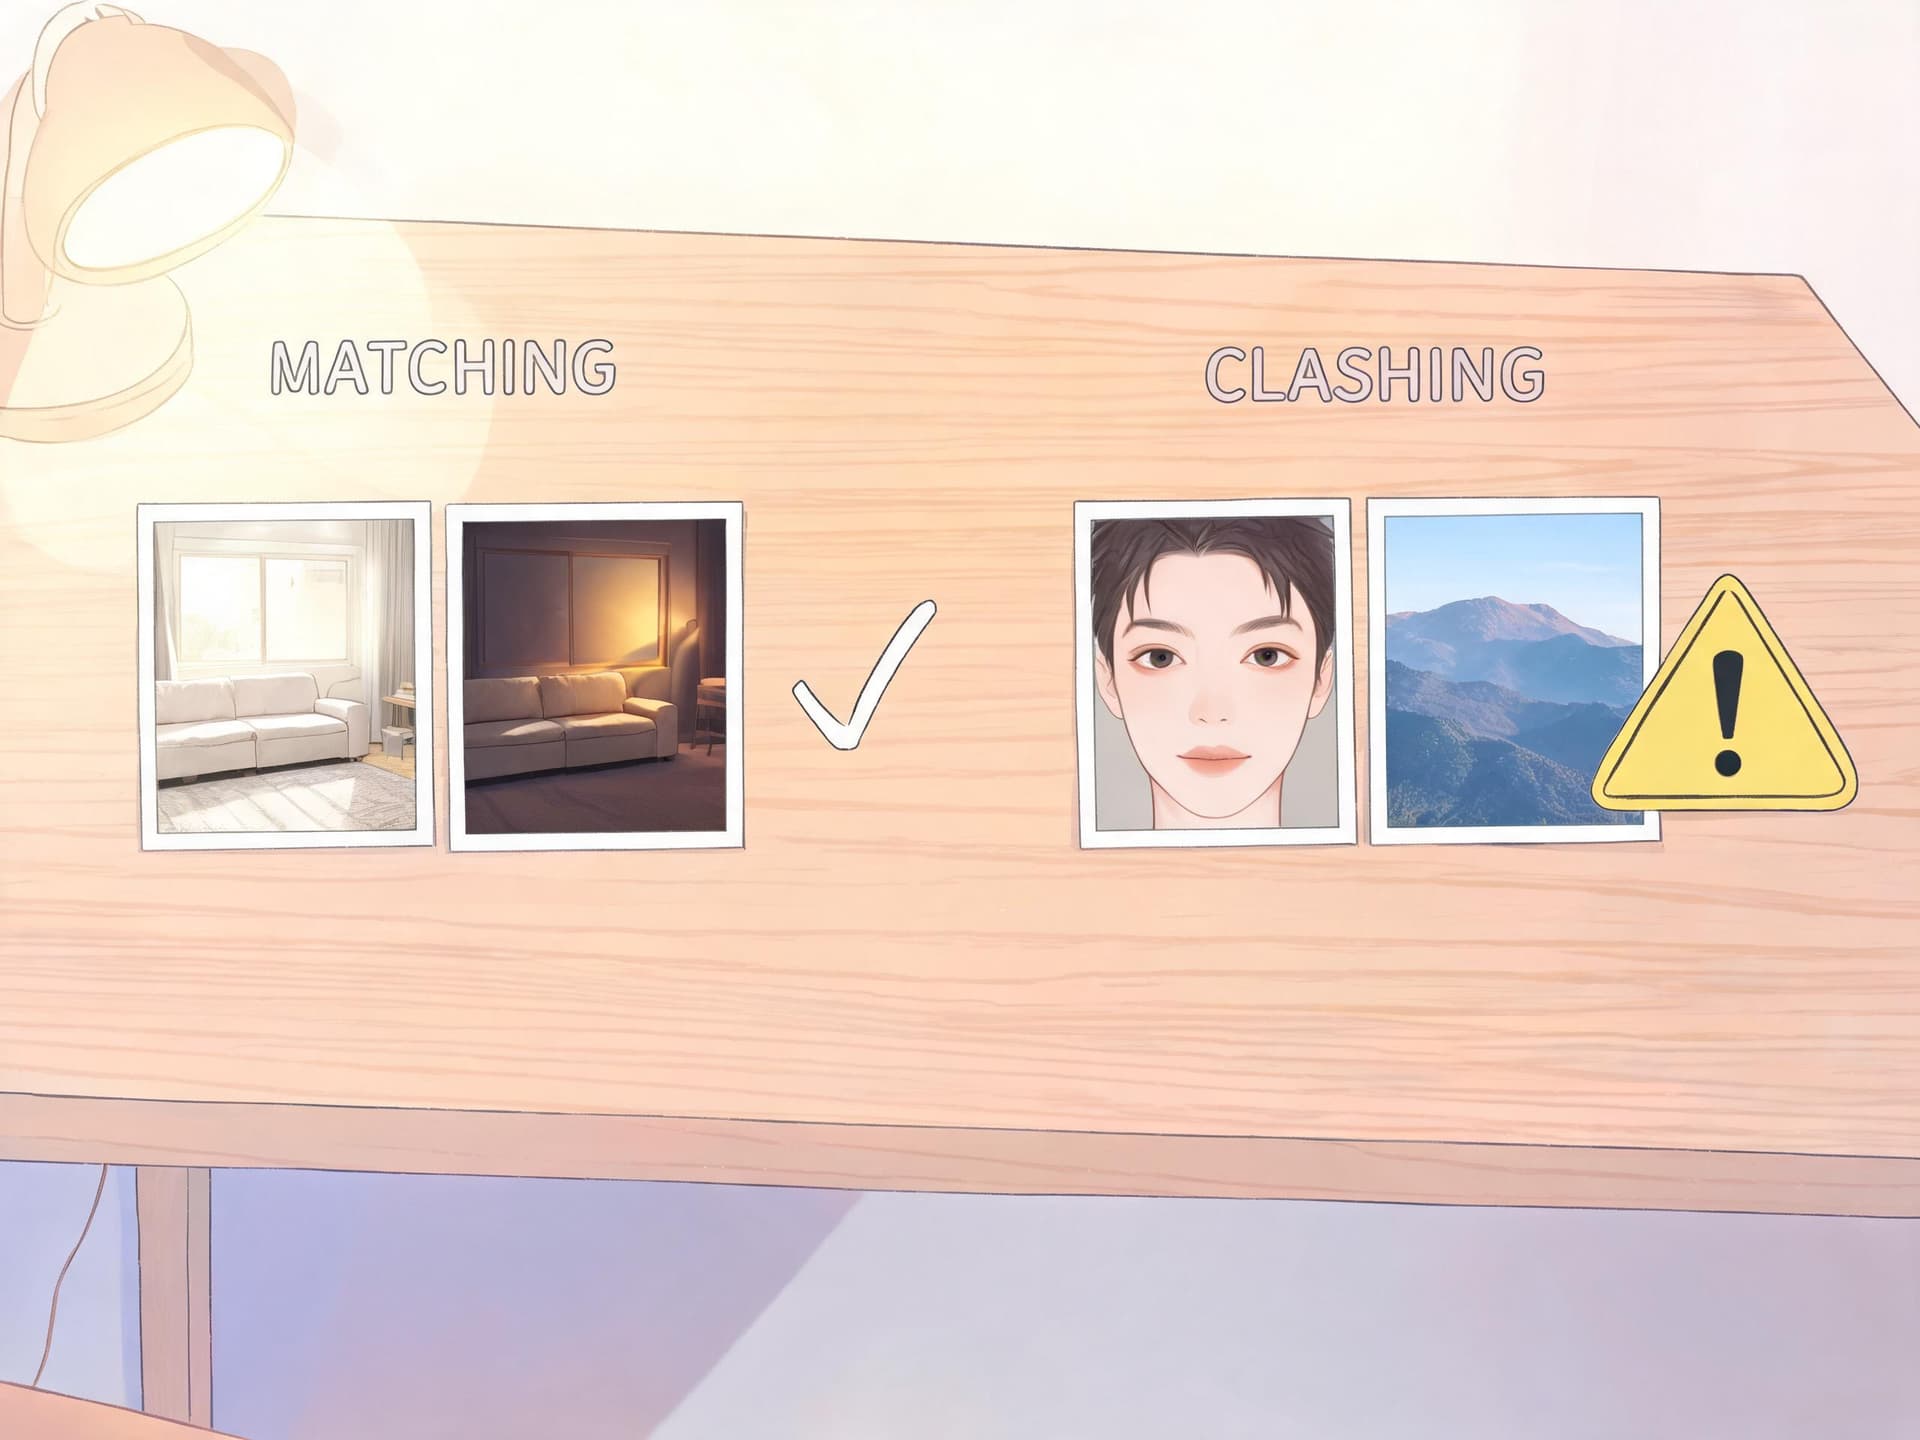
There is a real tradeoff worth knowing. The model is filling in a path between two fixed points, so the bigger the visual gap between your start and end frame, the harder the interpolation job gets, and the more likely you are to see a warped middle section or a camera move that looks unnatural. The technique works best when the two frames share a camera position, a subject, or a setting, something the model can hold onto while it changes everything else.
The 3-Part Prompt Structure: Start Frame, End Frame, Motion
Every prompt in this post follows the same three-part structure that Flow and Veo 3.1 both expect from a reference-image generation. Keeping the three parts clearly separated, rather than blending them into one paragraph, is what actually makes the model treat them as two distinct anchor points instead of one confused description.
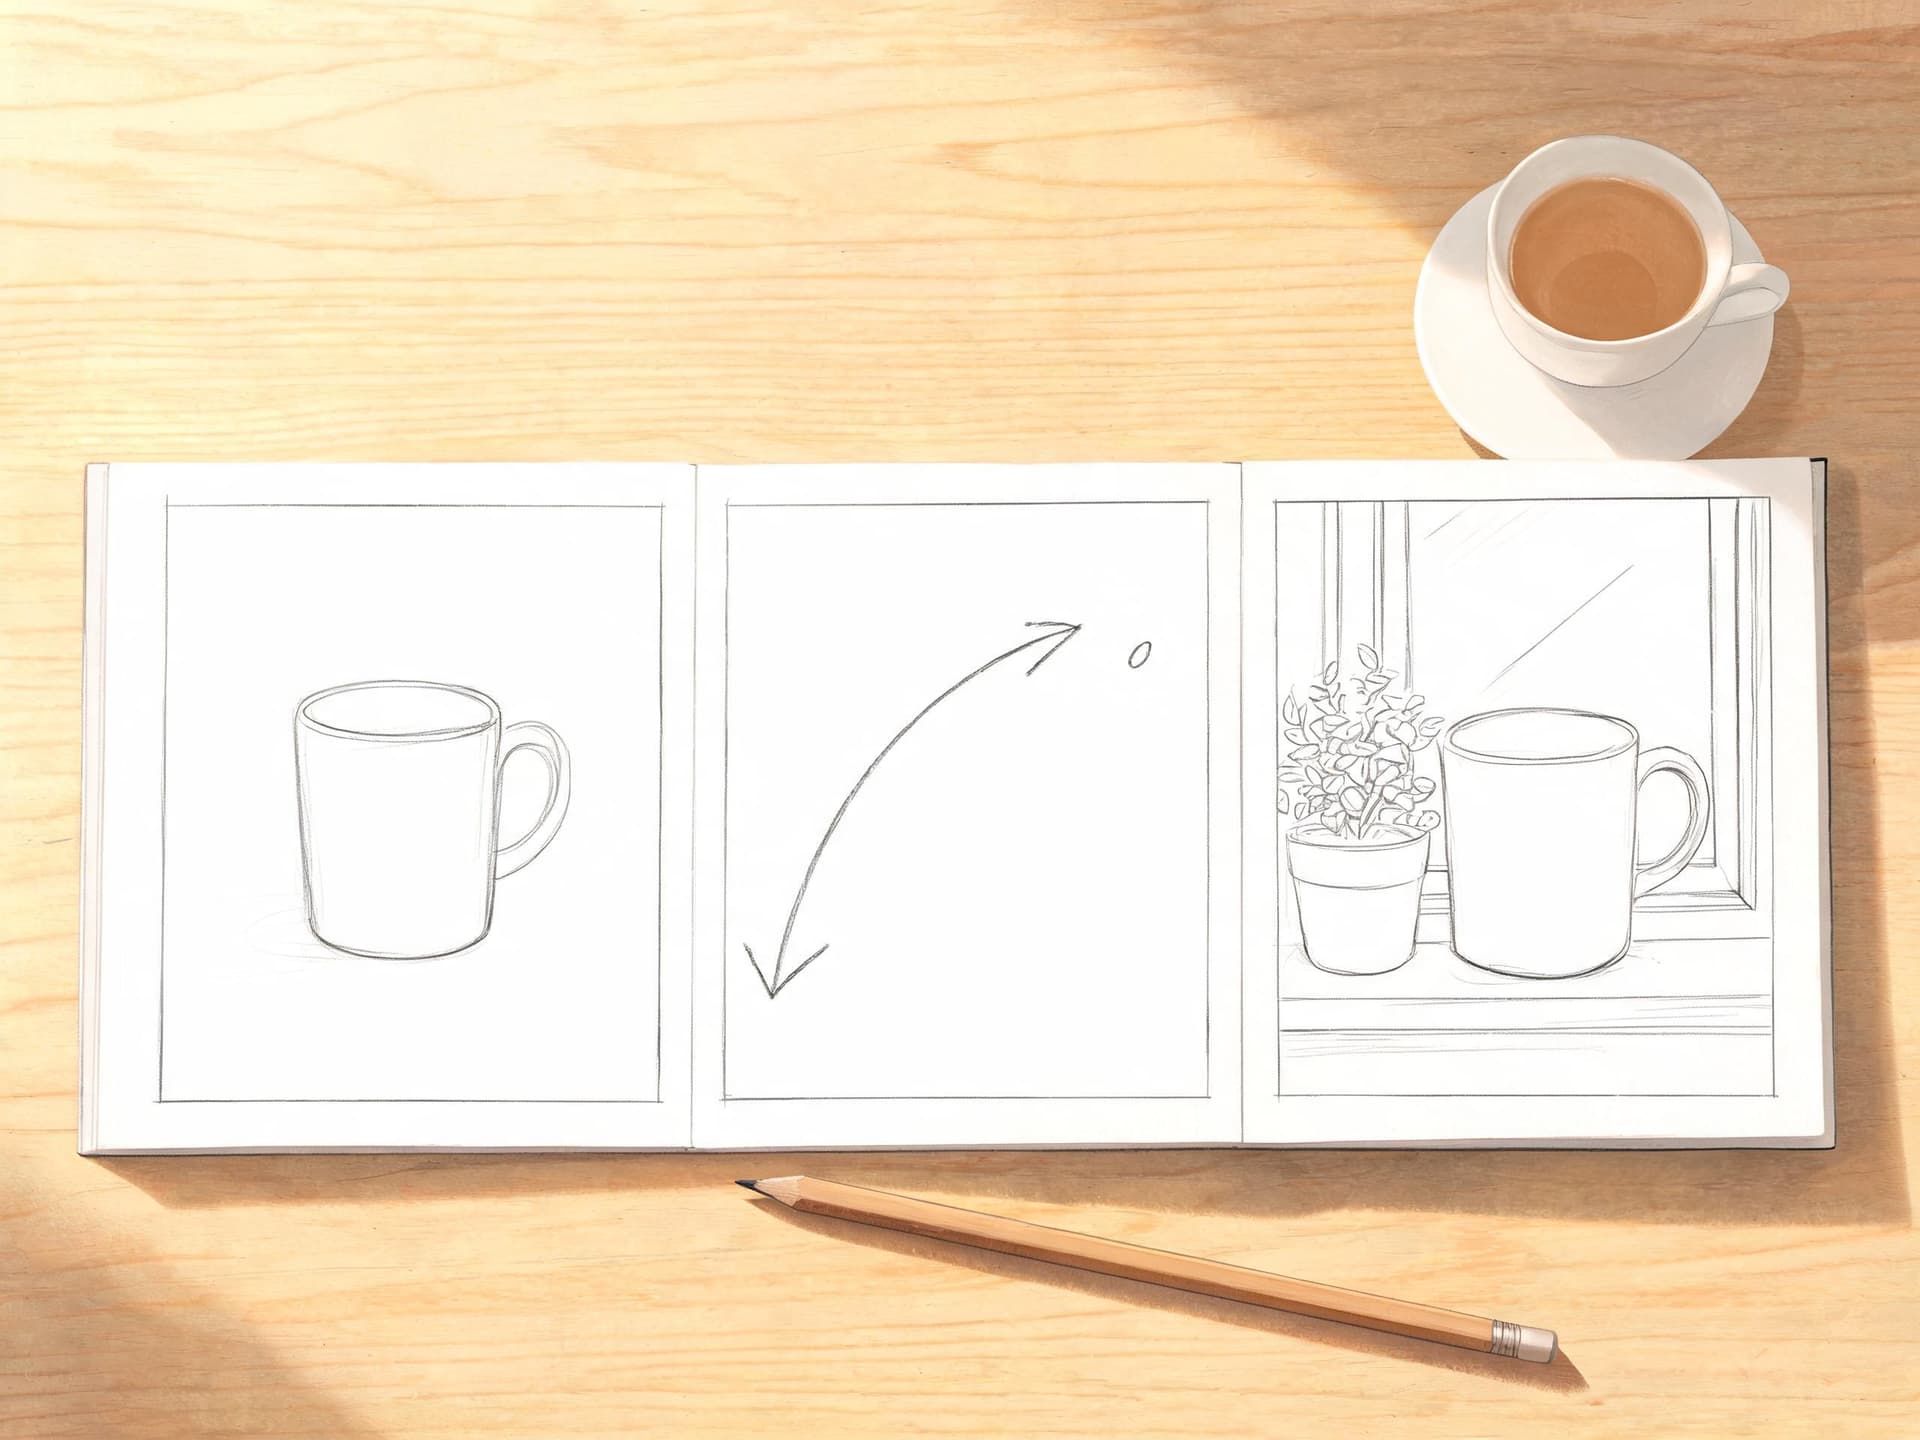
Start Frame describes exactly what the first frame of the clip looks like: the subject, the setting, the lighting, and the camera framing. Treat it like you are describing a still photo, because that is functionally what it becomes.
End Frame describes the final frame the same way, as its own complete still photo. The more specific you are about what changed and what stayed the same, the better the model can plan the path between the two.
Motion is the one sentence that tells the model how to get from the first frame to the second: a camera move, a transition style, a pace, and anything you want to explicitly rule out, like warping, flickering, or an unnatural jump cut.
Where to Get Your Two Reference Images
The weakest link in this whole technique is usually the reference images themselves, not the motion prompt. A blurry, low-resolution, or inconsistent pair of start and end images gives the model a bad foundation no matter how well the motion prompt is written.
The fastest way to get a clean, matched pair is to generate both inside Miraflow's AI Image Generator using image-to-image editing rather than two completely separate text-to-image generations. Start with your base subject, generate the first frame, then use image editing and inpainting on that same output to change only what needs to change for the second frame, the outfit, the lighting, the setting, while keeping the subject's face, proportions, and framing locked. That single-source approach is why the prompts below are written as edits to one base image rather than two unrelated generations: it gives the video model two frames that already agree on everything except the one thing you are trying to show changing.
If you are working from your own product photos or real footage instead of a generated base image, you can still follow the same logic: shoot or select two images that already share a camera angle and framing, and let the motion prompt handle the rest.
1) Product, Ecommerce and Unboxing Reveals
These four prompts are built for the before-and-after moment that actually sells a product: a plain photo turning into a styled shot, or a sealed box turning into the thing people actually want to see. Keep the product's shape, proportions, and any visible text identical between your two frames, since viewers notice product inconsistency faster than almost anything else in an ad.
1. The plain-to-styled product shot
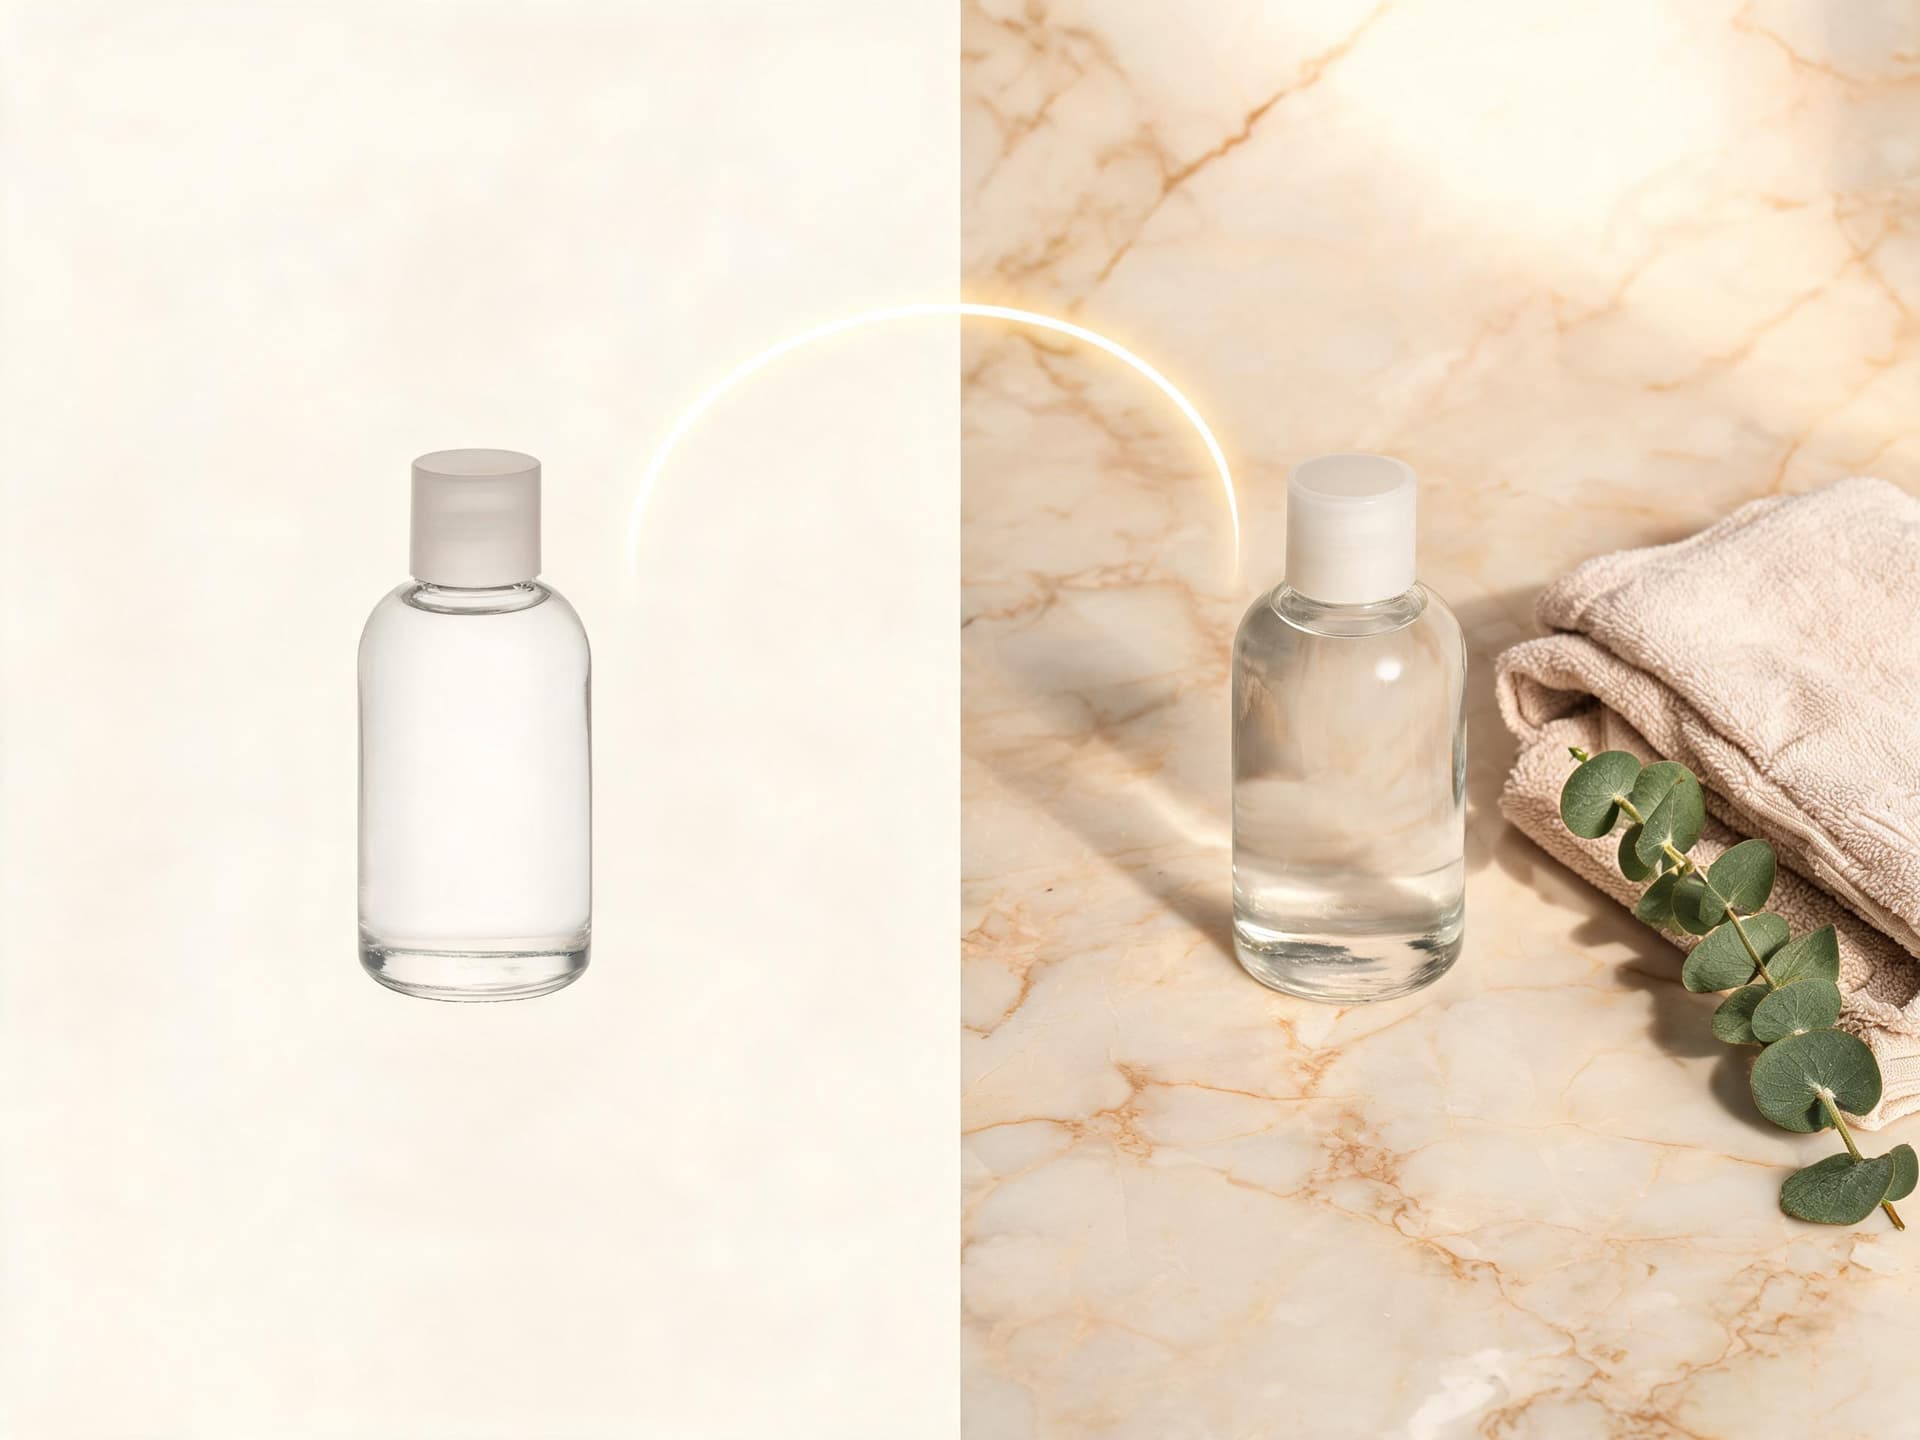
START FRAME: A single [your product] centered on a plain white background, flat even studio lighting with no visible shadow, framed straight on like a basic catalog photo, nothing else in the shot.
END FRAME: The same [your product], identical shape, size, and position, now resting on a warm marble or wood surface with one or two simple styling props nearby, softer warm side lighting, shallow depth of field.
MOTION: Slow, steady push-in as the plain white background dissolves into the styled surface and the lighting warms gradually, the product itself never moving, rotating, or changing shape, no flicker, no warped edges, no added text or logos.
2. The closed-to-open packaging reveal
START FRAME: A sealed [product] box sitting closed on a clean surface, straight-on angle, neutral daylight, nothing open or visible inside.
END FRAME: The same box now fully open with its lid set aside, the product itself visible and upright inside the packaging, same surface, same camera angle, slightly warmer lighting.
MOTION: A hand enters from the lower right, lifts the lid in one smooth motion, and the camera holds its exact position throughout, no cut, no change in zoom, natural lighting shift as the lid moves out of the light's path, no distorted hands or extra fingers.
3. The raw-ingredients-to-finished-dish reveal
START FRAME: Raw, uncooked ingredients for [your dish] laid out separately on a wooden cutting board, natural window light, overhead angle.
END FRAME: The finished, plated version of the same dish on the same wooden surface, same overhead angle, garnished and ready to serve, slightly warmer and more saturated lighting.
MOTION: A smooth overhead dissolve where the raw ingredients gradually combine and transform into the finished plated dish, camera angle locked in place the entire time, no sudden jump, no warped textures, no readable text overlays.
4. The flat-lay-to-in-use demo
START FRAME: A flat lay of [your product] and its accessories arranged neatly on a plain fabric background, shot straight down from above, even lighting.
END FRAME: The same product being actively used by a pair of generic, non-identifiable hands in a real setting, natural side lighting, same product clearly recognizable from the flat lay.
MOTION: Camera tilts and pulls back from the overhead flat-lay angle into a three-quarter in-use angle as the scene builds around the product, steady pace, no warped hands, no flickering, no added on-screen text.
2) Fashion, Beauty and Outfit-Change Content
Outfit swaps and glow-up style content were already common before start and end frame control existed, usually stitched together from two separate clips in an editor. The difference now is that the transition itself can be generated, so the change reads as one continuous motion instead of a hard cut. For any prompt with a person in it, keep the face, hairline, and body proportions identical in both frames unless the specific point of the prompt is a hair or makeup change, so the only thing that visibly shifts is the detail you are actually showcasing.
5. The outfit swap
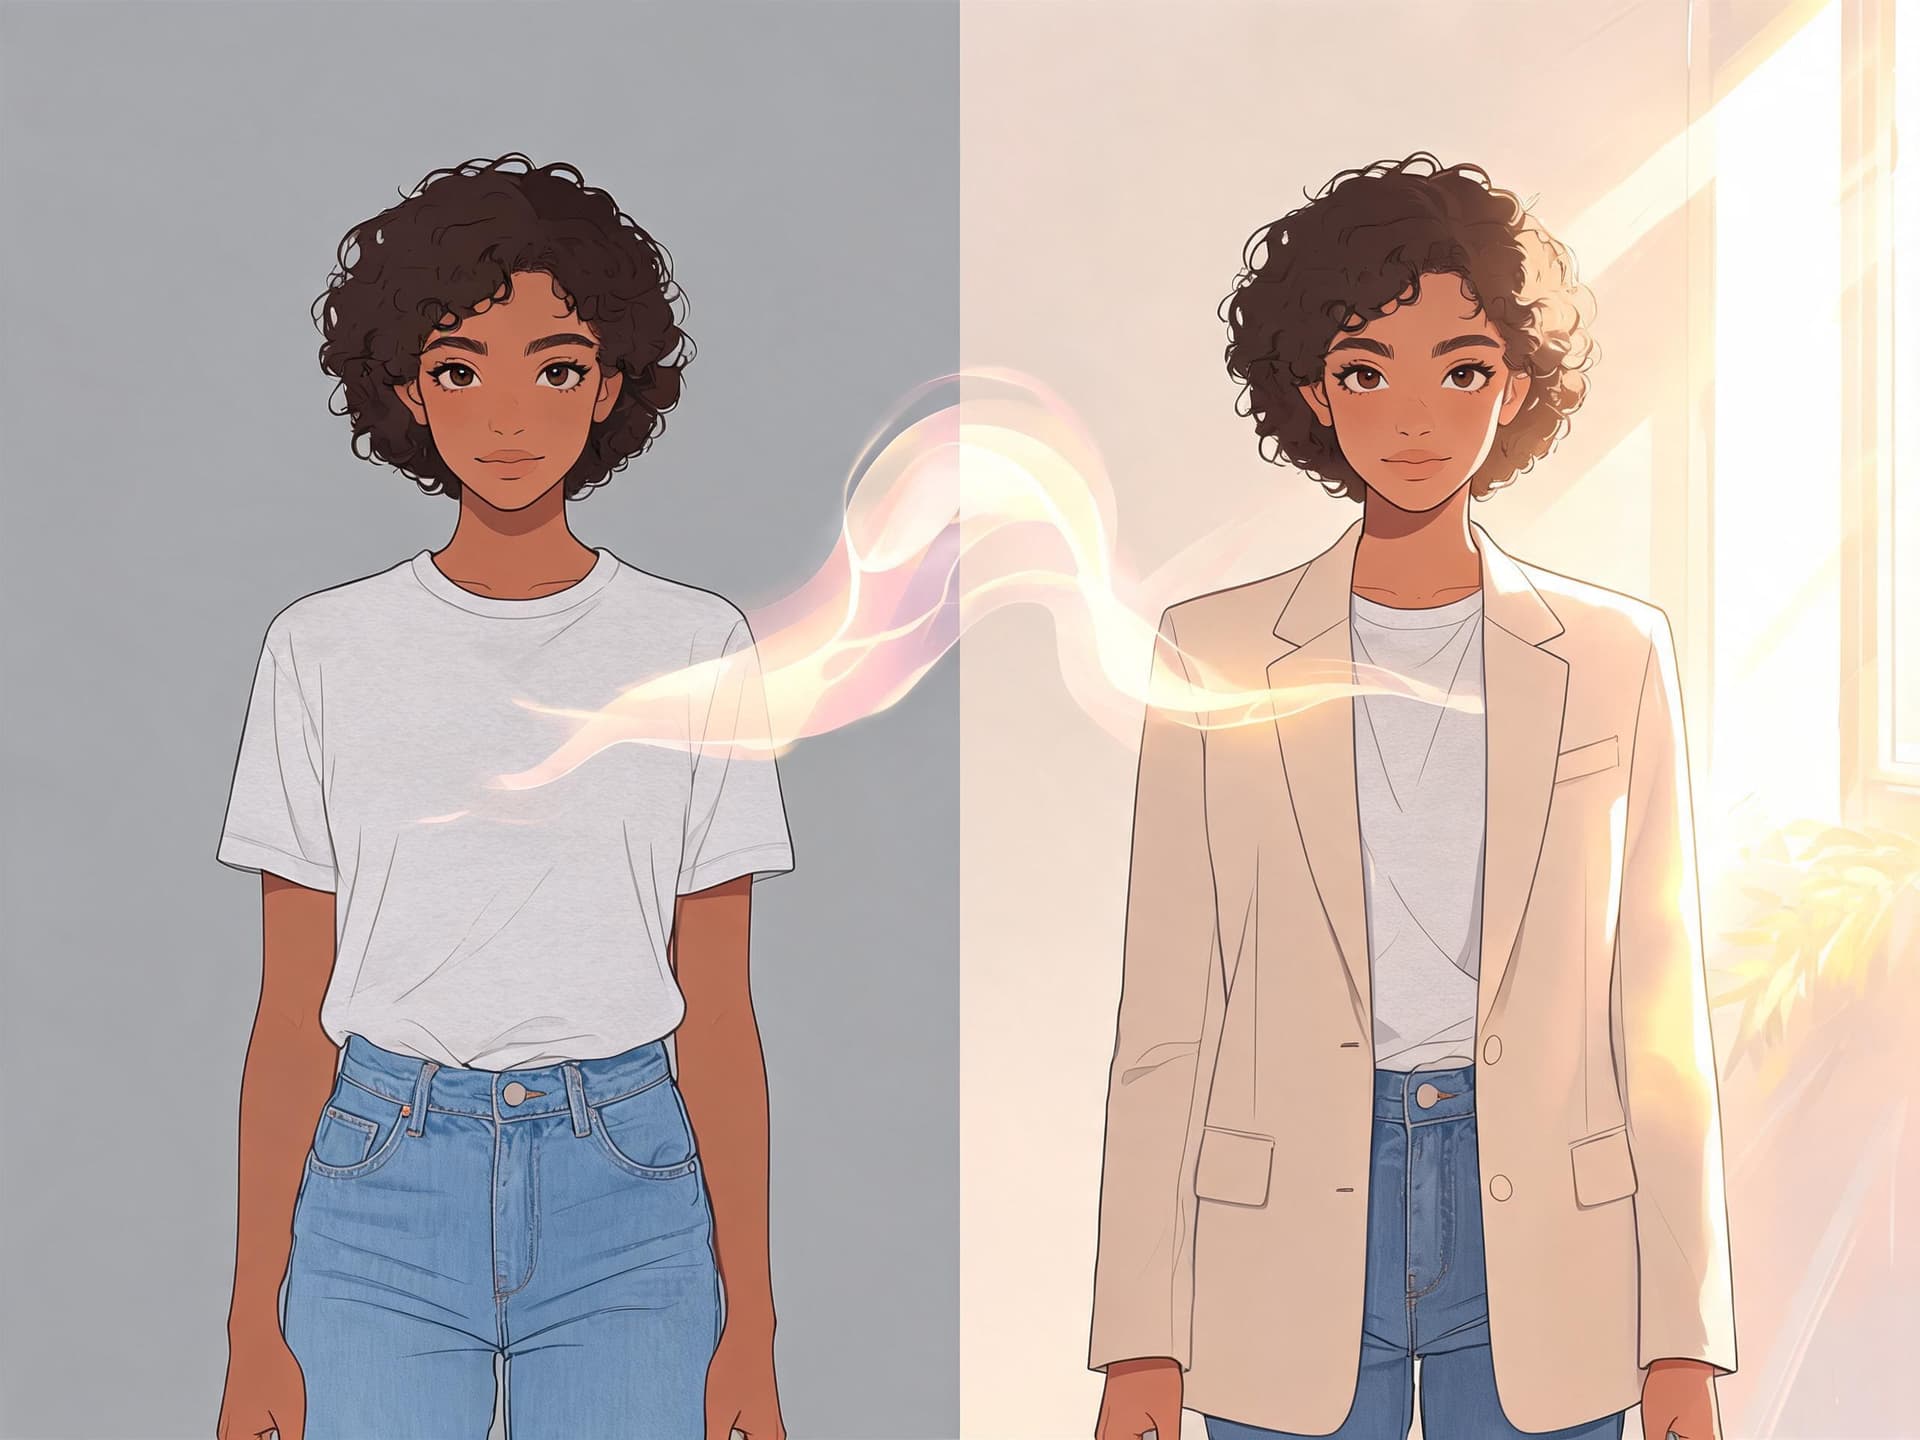
START FRAME: A generic, non-identifiable person standing facing the camera in a plain casual outfit, neutral indoor lighting, relaxed natural pose, same face and body proportions you want kept consistent throughout.
END FRAME: The same person, identical face and proportions, standing in the same pose and position, now wearing a completely different styled outfit, warmer and more dramatic lighting.
MOTION: A smooth vertical light sweep passes down the frame from head to feet as the outfit change happens, the person's pose, face, and position never shifting, no warping on the face or hands, no flicker, no extra limbs.
6. The hair color and style change
START FRAME: A generic, non-identifiable person in a close three-quarter portrait with their original hair color and style, soft neutral lighting, calm natural expression.
END FRAME: The same person, identical face and features, now with a different hair color or style, same framing and lighting, same calm expression.
MOTION: Slow, gentle rotation of the head from one angle to a slightly different angle as the hair color and style shift gradually across the motion, face and skin texture staying completely consistent, no distorted facial features, no flicker, no extra strands breaking the hairline.
7. The bare-face-to-full-glam transition
START FRAME: A generic, non-identifiable person in a close portrait with a bare, natural face under soft diffused daylight, calm neutral expression, minimal styling.
END FRAME: The same person, identical face shape and features, now with full makeup applied and styled hair, under warmer, more dramatic studio-style lighting, same framing and expression.
MOTION: Steady, slow push-in toward the face as the makeup and lighting shift gradually and evenly across the skin, no change in the underlying bone structure or proportions, no warped eyes or lips, no flicker, no added text.
8. The accessory layering reveal
START FRAME: A generic, non-identifiable person wearing a plain base outfit with no accessories, neutral studio lighting, facing the camera directly.
END FRAME: The same person in the identical pose and outfit, now layered with two or three accessories such as a scarf, jewelry, or a bag, slightly warmer lighting to suggest a finished styled look.
MOTION: A slow, steady camera hold as the accessories appear to settle into place one at a time in quick succession, pose and outfit otherwise unchanged, no warping on the body, no flicker, no extra or floating accessory pieces.
3) Travel, Real Estate and Location Transitions
This is the category where start and end frame control does something genuinely hard to fake any other way: a believable jump between two real or imagined places without ever filming a flight, a drive, or a renovation. Real estate listings benefit the most from this specific move, since an empty-to-staged transition used to require either two separate shoots or a slow manual edit, and now it is one generated clip.
9. The departure-to-destination jump
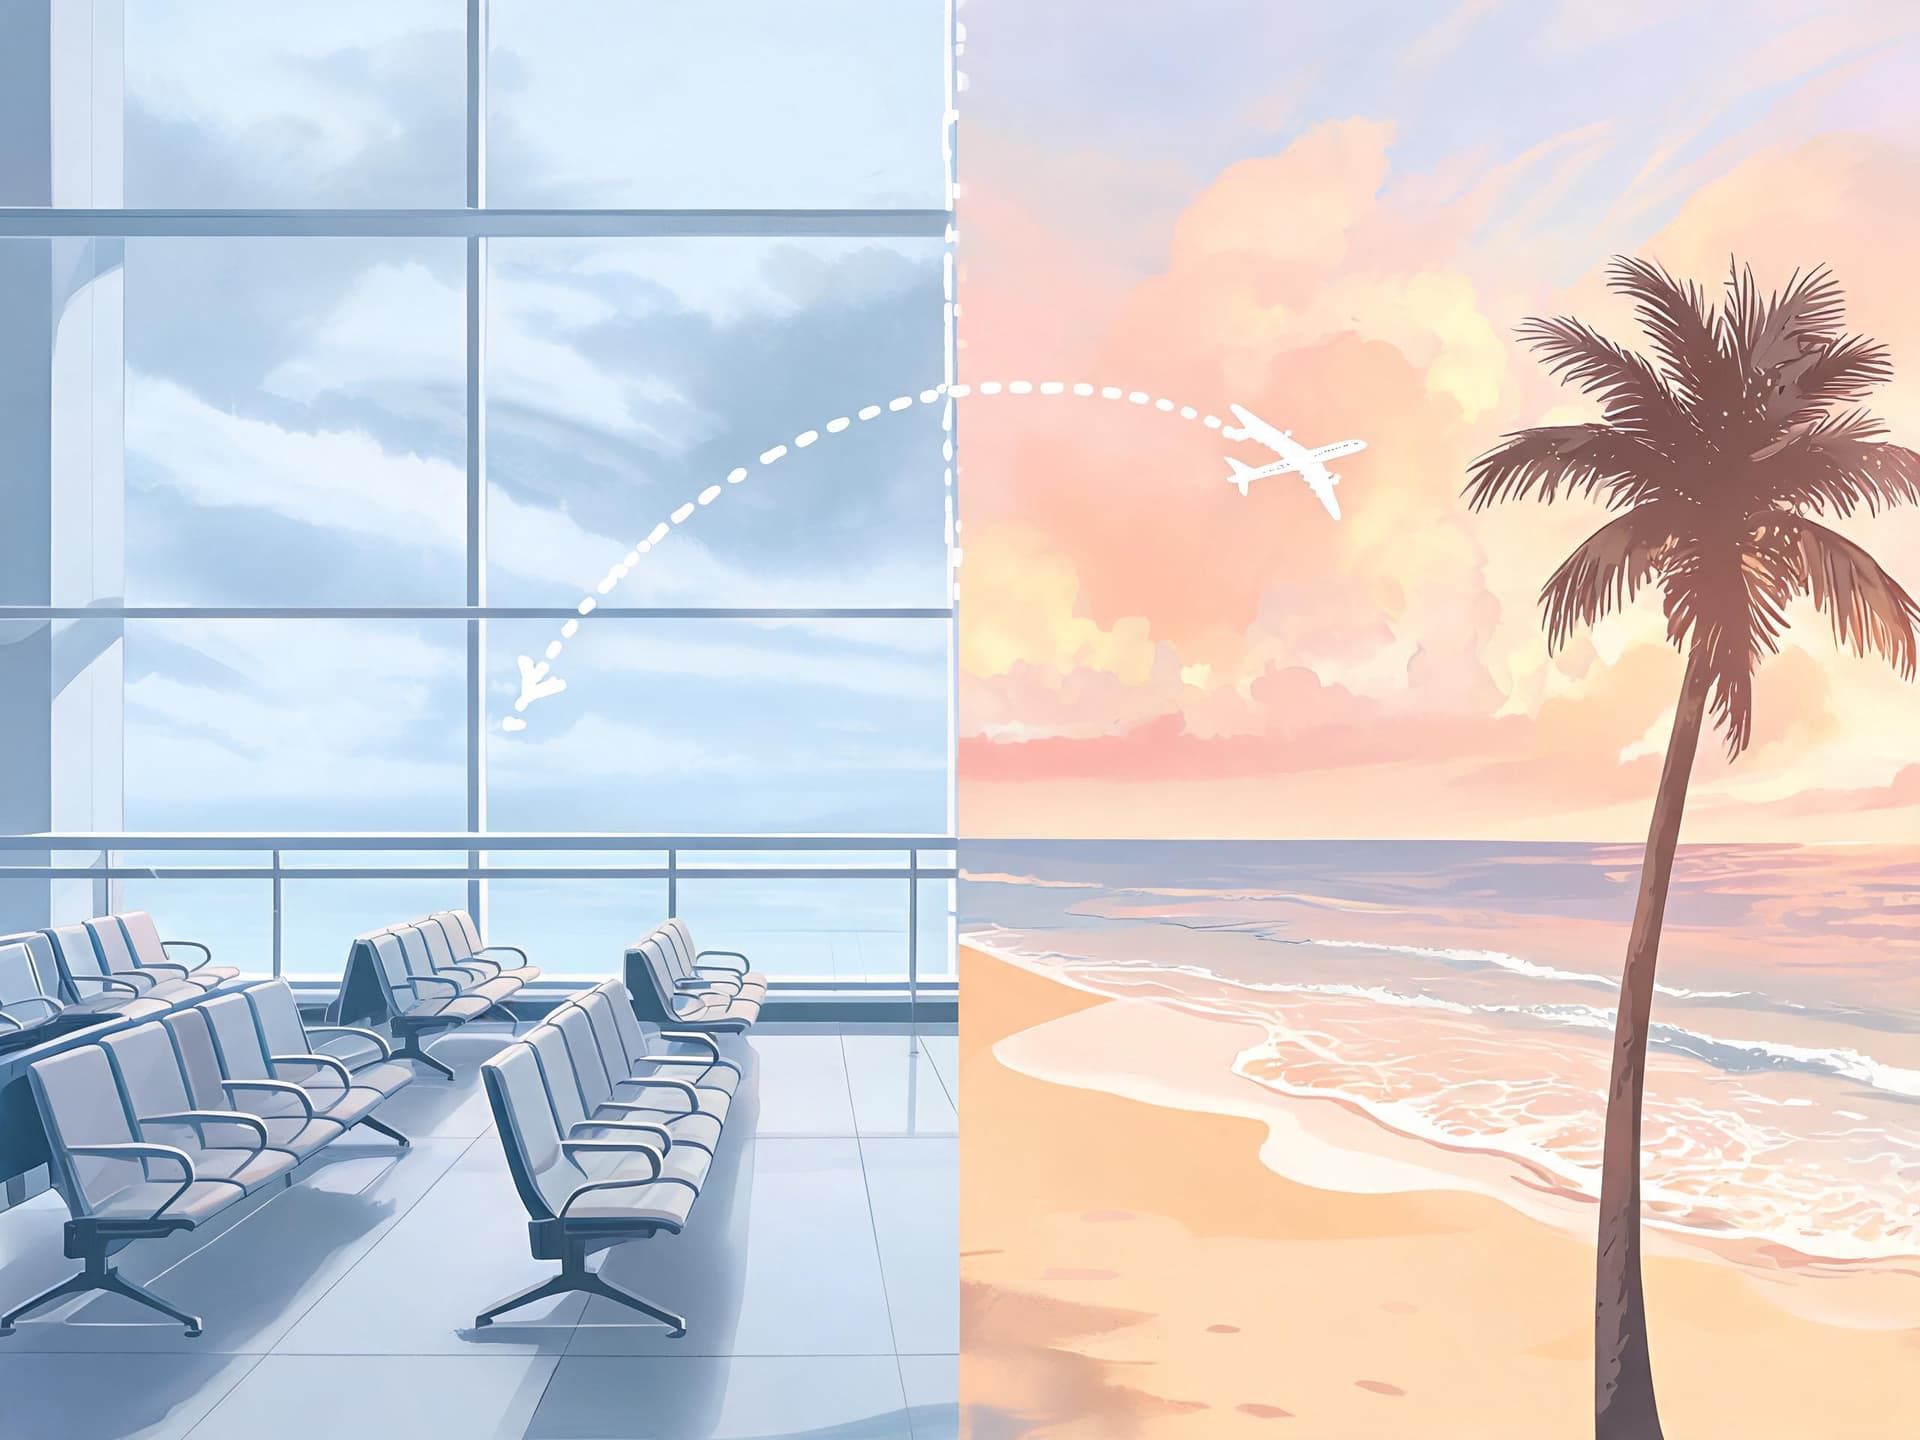
START FRAME: A quiet airport departure gate interior, rows of seats, a large window showing an overcast sky, cool neutral lighting, no identifiable airline branding visible.
END FRAME: A warm destination scene such as a beach, city street, or mountain overlook at golden hour, same general camera height and framing as the departure gate shot.
MOTION: A smooth, continuous forward camera push that treats the transition like walking through a window or doorway, lighting warming gradually from cool overcast to golden hour, no abrupt jump cut, no warped architecture, no readable signage text.
10. The empty-room-to-staged-room reveal
START FRAME: An empty, unfurnished room with bare walls and flooring, natural daylight through a window, wide straight-on angle showing the full space.
END FRAME: The same room from the identical camera angle and distance, now fully furnished and staged with furniture, rugs, and decor appropriate to the room's function, warmer ambient lighting.
MOTION: A slow, locked-off hold as furniture and decor appear to settle into place gradually across the room, walls, windows, and flooring staying perfectly consistent in position and proportion, no warping of the architecture, no flicker, no floating furniture.
11. The day-to-night skyline shift
START FRAME: A city skyline under bright midday sunlight, clear blue sky, wide establishing shot from a consistent elevated vantage point.
END FRAME: The identical skyline and camera angle at night, building windows lit from within, a deep blue-purple sky, same buildings in the same positions.
MOTION: A slow, continuous time-lapse style transition as the sky gradually darkens and building lights switch on one section at a time, camera position completely locked, no buildings shifting position or shape, no flicker artifacts, no added text.
12. The map-pin-to-arrival transition
START FRAME: A simple paper travel map with a small pin marker on a starting location, resting on a wooden table, soft overhead light, nothing else in frame.
END FRAME: A real arrival scene at that marked location, such as a street, landmark, or viewpoint, lit with warm natural light appropriate to the destination.
MOTION: A smooth camera push that starts tight on the map pin and pulls back and forward simultaneously as the paper map dissolves into the real destination scene, steady pacing throughout, no warped map details, no flicker, no readable place-name text on the map.
For more ways to apply this same reference-image approach specifically to property content, see the full set of AI video prompts for real estate walkthroughs and listing videos on Miraflow's blog.
4) Before and After Transformation and Progress Content
Fitness accounts, home improvement creators, and garden or plant accounts have been asking for a reliable way to visualize progress without waiting weeks between real photos. These three prompts are built around a documented starting point and an aspirational or actual end point, which makes them genuinely useful for planning a transformation, not just for entertainment.
13. The fitness progress jump
START FRAME: A generic, non-identifiable person standing in workout clothes in a plain gym setting, neutral front-facing pose, even studio lighting, documented starting physique.
END FRAME: The same person, same face and identity, same pose and gym setting, showing a realistic, modest physical progress appropriate to a genuine multi-month training period, same lighting.
MOTION: A slow, steady hold on the same camera position as subtle, realistic physical changes develop gradually, no exaggerated or implausible transformation, no warping of proportions, no flicker, no added text overlays or statistics.
14. The room-makeover reveal
START FRAME: A cluttered, dated living room with mismatched furniture and dim lighting, wide shot from a fixed camera position.
END FRAME: The same room from the identical camera position, now organized and redecorated with a cohesive color palette and modern furniture, bright warm lighting.
MOTION: A slow, locked-off hold as the clutter clears and new furniture and decor settle into place section by section, walls and windows staying fixed in position, no warping of the room's architecture, no flicker, no floating objects mid-transition.
15. The plant growth timelapse
START FRAME: A small seedling just breaking through soil in a plain terracotta pot, natural window light, close three-quarter angle.
END FRAME: A fully grown, healthy plant of the same species in the identical pot and camera angle, lush green leaves, same natural lighting direction.
MOTION: A smooth, continuous growth motion as the stem lengthens and leaves unfurl gradually and realistically over the course of the clip, pot and camera position staying completely fixed, no unnatural or sudden size jumps, no flicker, no warped leaf shapes.
5) Nature, Weather and Mood Transitions
These last three skip a specific subject entirely and use the technique purely for mood, the kind of B-roll that works as an intro, an outro, or a transition under narration. Because there is no product or face to keep consistent, you have more room to push the gap between your two frames, as long as the setting itself stays recognizably the same place.
16. The storm-to-clear-sky shift
START FRAME: A dramatic storm scene over an open landscape or coastline, dark gray clouds, visible rain or wind movement, wide establishing camera angle.
END FRAME: The identical landscape and camera angle under clear skies with warm sunlight breaking through, calm conditions, same horizon line and terrain features.
MOTION: A slow, continuous weather transition as the clouds part and light gradually breaks through, camera position locked throughout, no shifting terrain or horizon, no flicker, no added lightning or text effects.
17. The winter-to-spring seasonal change
START FRAME: A snow-covered outdoor scene, bare trees, overcast winter light, a fixed wide camera angle on a specific tree or path.
END FRAME: The identical scene and camera angle in full spring bloom, green leaves and flowers on the same tree or path, warm bright daylight.
MOTION: A slow, continuous seasonal transition as snow melts and greenery and blossoms appear gradually across the frame, camera position and composition staying exactly fixed, no warping of the tree's branch structure, no flicker, no unnatural instant snow removal.
18. The sunrise-to-sunset time-lapse mood shot
START FRAME: A wide landscape or cityscape at sunrise, soft pink and orange light low on the horizon, fixed wide camera angle.
END FRAME: The identical landscape and camera angle at sunset, deeper orange and purple tones, same horizon and landmarks in the same positions.
MOTION: A slow, continuous time-lapse style arc as the light shifts gradually through the day and settles into the sunset tones, camera position completely locked, no shifting landmarks, no flicker artifacts, no added text or watermark.
How to Customize These Prompts for Your Own Footage
Swap the bracketed subject, setting, and product details for your own, but keep the three-part structure intact. The start frame and end frame should each read as a complete, standalone description, since the model treats them as two separate images it needs to actually render before it plans the motion between them. If you remove detail from either one to save time, you are not simplifying the prompt, you are giving the model more room to guess, which is exactly what reintroduces the drift this technique is supposed to fix.
When you adapt the motion line, think in terms of camera language rather than vague descriptions. A slow push in, a static locked-off shot, a gentle pan, and a handheld drift all produce visibly different results, and naming the specific one you want gets you closer to a usable clip on the first try. If your gap between start and end is large, for example a full outfit and location change, add an explicit note ruling out warping or a jump cut partway through, since that is the most common failure point on an ambitious transition.
For creators working from real photos instead of generated ones, crop and frame both images to match before you prompt, same aspect ratio, similar subject scale, and ideally a similar camera height. A mismatch there puts extra strain on the interpolation even with a well-written motion prompt.
Common Mistakes Creators Make With Start and End Frame Prompts
Changing more than one variable at once. A prompt that swaps the outfit, the lighting, the location, and the camera angle all between the same two frames gives the model too many moving parts to resolve cleanly. Pick one primary change per clip and let everything else stay as close to identical as possible.
Writing the motion line too vague. "The scene changes" tells the model nothing about pacing, camera behavior, or style. Every motion line in this post names a specific camera move and pace because that specificity is what actually controls the result, not the subject description.
Using two reference images that do not already agree on framing. If your start frame is a tight close-up and your end frame is a wide shot from a completely different angle, you are asking the model to invent a camera move you never described, which usually produces an unnatural warp rather than a real pan or zoom.
Skipping the draft mode before committing credits. Flow's 360p draft option exists specifically so you can test whether a concept holds together before spending a full-resolution generation on it [1]. Treat any new start-to-end concept as a draft first, especially a transformation with a large visual gap between frames.
Forgetting the clip is a starting point, not a finished edit. A generated start-to-end sequence usually still needs music, captions, and pacing to actually perform on social, and skipping that step is why plenty of technically good AI clips never get posted.
Bringing This Into Miraflow AI
The full workflow this post describes works end to end inside Miraflow without leaving the browser. Build your start and end reference images with Miraflow's AI Image Generator, using its image-to-image editing and inpainting tools to keep your subject locked while you change only what needs to change between the two frames. Bring both images into Miraflow's cinematic AI video generator to generate the motion between them, the same reference-image approach behind Flow's new start and end frame controls.
From there, a generated clip rarely needs to stay a single raw file. Drop it into Text2Shorts on Miraflow to add a script, narration, and captions if you want a full vertical Short built around the transformation instead of a silent clip. If you have a longer piece of footage and want to find which moments are actually worth turning into a start-to-end style highlight, Miraflow's AI Clipping tool can scan a full video, score the most engaging moments, and auto-crop them to vertical with captions already applied. A strong frame from any of these clips can also become its own YouTube thumbnail on Miraflow without needing a separate design tool, and Miraflow's AI music generator can score the finished transition with something built to match its pacing instead of a generic stock track.
If you want to see how this same reference-image logic plays out on a different model entirely, the multi-shot structure behind Kling 3.0 Turbo's prompts on Miraflow's blog is a useful comparison, since it solves a related consistency problem across several shots instead of two fixed frames. For a broader sense of where AI video models stand against each other right now, Miraflow's blog also has a direct breakdown of Seedance 2.5 against Veo 3.1 and a separate look at MiniMax H3 against Veo 3.1.
Frequently Asked Questions
Do I need a Google Flow subscription to use this technique? No. The three-part start frame, end frame, motion structure works on any AI video tool that accepts reference images, including the cinematic AI video generator inside Miraflow. Flow's August 2026 update is simply the moment this became a named, dedicated feature rather than a workaround creators had to assemble themselves.
How different can my start and end frames be before the result breaks down? There is no hard limit, but the model is interpolating a path between two fixed points, so the bigger the gap in camera angle, lighting, or subject position, the more likely you are to see warping or an unnatural transition in the middle. Keep one variable as the primary change and hold everything else as close to identical as you can.
Does this work for videos with dialogue or voiceover? The technique controls the visual path between two frames, not audio. Plan to add narration, a voiceover, or music afterward, which is exactly what a tool like Text2Shorts is built for.
What is the actual difference between 360p draft mode and a full export? Draft mode renders at a lower resolution for a lower credit cost specifically so you can confirm a concept holds together before spending a full-resolution generation on it. Once you are happy with the draft, you regenerate or upscale to your real export resolution.
Can I use this technique with my own real photos instead of AI-generated ones? Yes. The model does not require either reference image to be AI-generated. Two real photos that share a similar framing and camera angle work just as well as a generated pair, sometimes better, since real photos already have consistent lighting physics.
Is this the same thing as the 'Ingredients to Video' feature in Veo 3.1? They solve a similar problem with reference images, but Veo 3.1's Ingredients to Video update focuses on reusing character, object, and background references across multiple shots in a longer sequence, while Flow's start and end frame control is specifically about anchoring the first and last frame of one continuous clip. Both point toward the same broader shift: AI video getting more controllable through images, not just longer and more detailed text prompts.
Will this replace real filming for product and real estate content? Not entirely, but it meaningfully reduces how much real footage you need for a specific before-and-after beat. Most creators who adopt it still mix generated transition shots with some real footage rather than replacing a shoot outright.
Conclusion
Start and end frame control is one of those features that sounds like a small UI addition and turns out to change how you should actually write a video prompt. Instead of describing one moment and hoping the model invents a believable journey around it, you are directing two fixed points and letting the model solve the part in between, which is a fundamentally more reliable way to get a consistent result.
The 18 prompts above cover the formats creators ask for most: product reveals that actually sell, fashion and beauty transformations that read as one continuous shot, travel and real estate transitions that used to require real footage, progress content that documents an actual journey, and mood-driven B-roll that works as a transition on its own. Copy the structure, swap in your own subject and setting, and build your two reference frames with Miraflow's AI Image Generator before animating the motion between them with the cinematic AI video generator on Miraflow. Once you see how much more reliable a directed start-to-end clip is compared to a single blind text prompt, it is hard to go back to generating and hoping.