Midjourney V8.2 Edit Model: Full Guide, Prompts and Examples (2026)

Written by
Aerin Kim
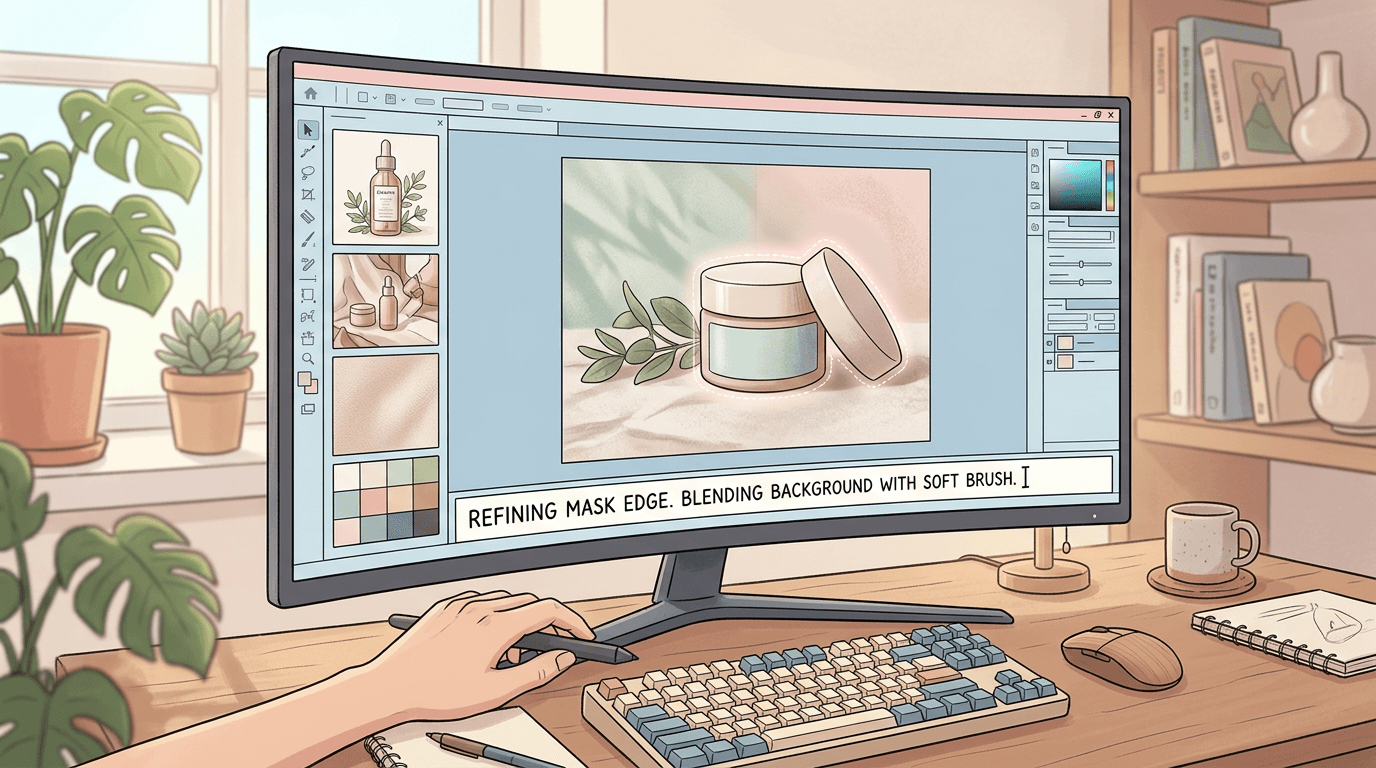
Midjourney merged Omni Reference, Character Reference, Retexture, inpainting and outpainting into one Edit Model. Here is what changed and how to use it.
If you have spent any real time inside Midjourney, you already know the friction. You wanted to keep a character's face consistent, so you dug up the --cref syntax. You wanted to swap a jacket's material, so you remembered --retexture existed and hoped you had the right image ID handy. You wanted to nudge one small detail on an otherwise perfect generation, so you rewrote the entire prompt from scratch and crossed your fingers the new seed would not ruin everything else in the frame. Every one of those was a separate mental model, a separate syntax, and often a separate tool tab.
That friction is exactly what Midjourney's new Edit Model is built to remove. Midjourney opened public testing of a unified Edit Model on August 27, 2026, built on top of V8.2, which had already become the default version on July 24, 2026. Instead of remembering which parameter does what, you now edit an image the way you would ask a human retoucher: with plain instructions, in one panel, with up to four reference images and mask-based editing available at the same time.
This guide walks through exactly what changed, why it actually matters for anyone making thumbnails, product shots, or brand visuals, and gives you grouped, copy-paste prompt examples for each of the Edit Model's core capabilities: instruction-based edits, multi-reference generation, inpainting and outpainting, and moodboards with style references. Along the way we will also look at Miraflow's AI Image Generator, which supports a very similar text-to-image, image-to-image, and mask-based editing workflow directly in the browser, for the days you want a faster or simpler path to the same kind of result.
What Changed
Midjourney's own update notes for the Edit Model describe it as a single, unified way to edit images that used to require several separate features. Before this release, if you wanted to keep a specific person or object consistent across generations, you used Omni Reference. If you wanted to lock a character's identity specifically, you reached for Character Reference. If you wanted to change the surface material or texture of something already generated, that lived in a standalone Retexture tool. Masking a specific region to change just that part of an image, and expanding an image's canvas outward, lived inside the Editor as their own workflows too.
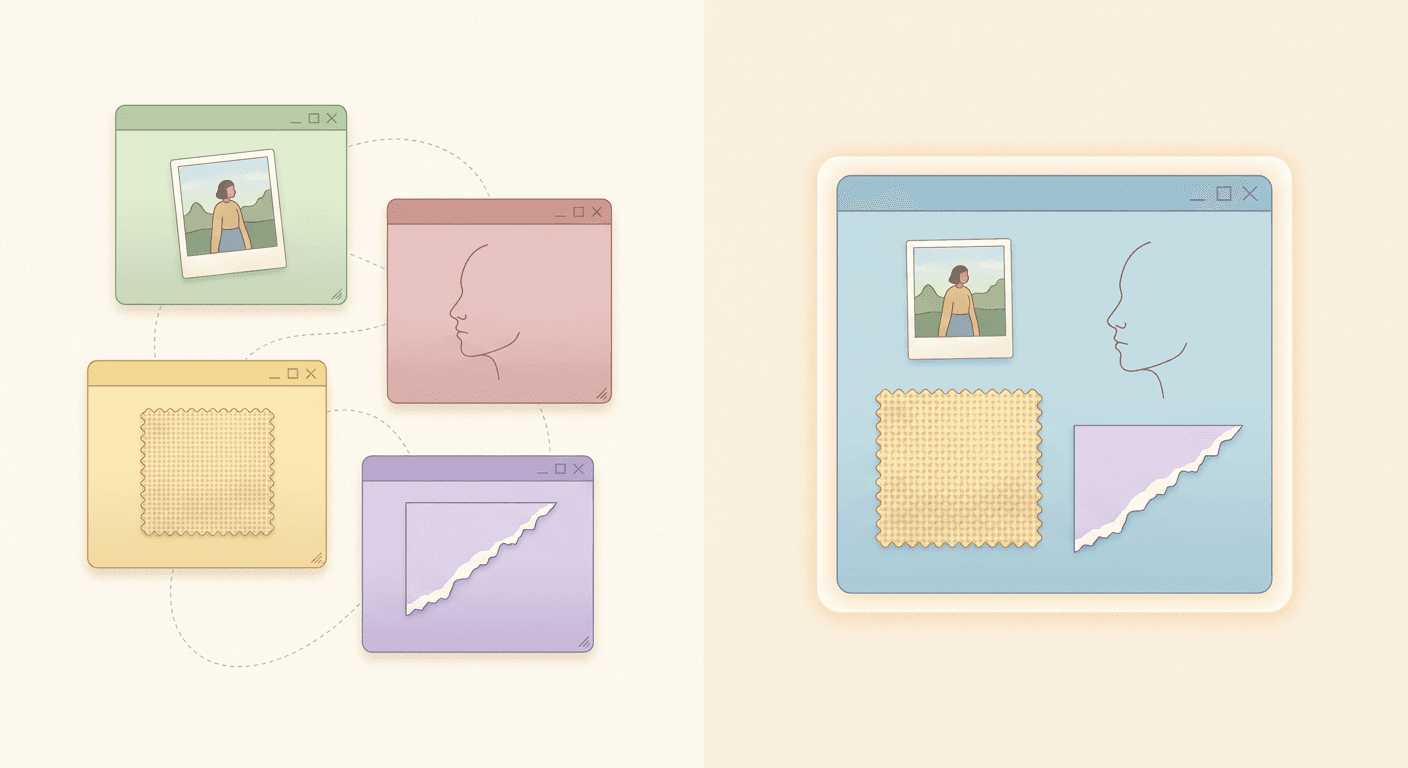
The Edit Model folds all of that into one interface. According to Midjourney's own documentation and update notes, it now supports four things at once, in the same panel: editing an existing image from a typed, natural-language instruction, generating or editing images using up to four reference images at the same time, inpainting a masked region or outpainting to expand the canvas, and applying personalization, moodboards, and style references. Midjourney's notes are specific that Omni Reference's old job, generating consistent output from a reference image, now happens through this same multi-image reference flow inside the Edit Model instead of a separate parameter. Character Reference and the standalone Retexture tool are retired the same way, absorbed into the same unified panel rather than being maintained as their own separate features going forward.
You can reach the Edit Model a few different ways: by attaching images directly to the prompt bar, by clicking the edit button inside the lightbox view on an existing image, through a dedicated edit tab, or with the --edit url... command in Discord if that is still where you work. Both the main midjourney.com web app and the faster-moving alpha.midjourney.com site received the interface update, with alpha positioned as the place Midjourney ships and iterates on Edit Model changes first.
Why It Matters
The practical difference is not just fewer buttons. It changes how you think about an edit in the first place. Under the old system, your first mental step was always "which tool handles this," not "what do I actually want changed." Want to keep the same model's face across five product shots, but also swap the fabric on the jacket she is wearing? That used to mean Character Reference for the face, Retexture for the jacket, and a separate masking pass if the retexture bled into skin or hair. Each hop meant a new upload, a new parameter to remember, and a real chance the identity or texture would drift slightly between passes.
With the Edit Model, that whole sequence collapses into one instruction plus a handful of reference images. You attach the reference photos, describe the change in plain language, and the model handles the identity-locking, the material change, and the region targeting inside one generation pass instead of three disconnected ones. For a creator running a content calendar with 10 or 20 product images a week, that is the difference between a five-minute edit and a twenty-minute one, multiplied across every asset you touch that week.
It also matters for a more subtle reason: it lowers the skill floor. The old system rewarded people who had memorized parameter syntax, which raster settings, which reference type, which retexture flag went with which use case. The Edit Model rewards people who can describe what they want clearly in a sentence, which is a much more transferable skill and one that carries directly over to tools like Miraflow's AI Image Generator, ChatGPT's image tools, or Google's Gemini-based editors, since instruction-based editing is quickly becoming the shared interface pattern across every major image model in 2026, not just Midjourney's.
Here is the direct comparison between what creators had to juggle before and what the Edit Model consolidates it into.
| Previously | How creators used it | Now inside the Edit Model |
|---|---|---|
| Omni Reference (--oref) | Fed one reference image into a prompt to keep a subject consistent | Attach up to 4 reference images directly, no separate parameter needed |
| Character Reference (--cref) | Locked a specific character's face and body across separate generations | Handled through multi-image references and instructions in the same panel |
| Retexture | Standalone tool to reapply a new material or surface texture | Done through a plain-language edit instruction in the Edit Model |
| Separate Inpaint and Outpaint workflows | Required switching into the Editor to mask a region or expand canvas | Built into the same Edit Model session as instructions and references |
| Moodboards and style references | Applied as standalone style influences | Still supported, but Midjourney notes they may need more explicit prompt direction now |
Getting Started With the Edit Model
Before getting into prompt examples, it helps to know exactly how to trigger the Edit Model rather than accidentally generating a fresh image from scratch.
- From the prompt bar: attach one to four images directly to your prompt bar, then type your instruction instead of a full from-scratch prompt. Midjourney treats the attached images as edit references rather than loose style influences.
- From the lightbox: open any image you have already generated, and use the edit button inside the lightbox view. This is the fastest path when you are iterating on one specific output you already like.
- From the dedicated edit tab: upload an image you did not generate in Midjourney (a real product photo, a phone snapshot, a client-supplied asset) directly into the edit tab to start an Edit Model session on it.
- From Discord: if you still work in Discord, the
--edit url...command starts an Edit Model session on the image at that URL.
Two limitations are worth knowing up front so you do not waste a generation: the Edit Model is not currently compatible with the --tile parameter, and results that come out of the Edit Model are not currently compatible with Remix. If you need a seamless tile or a Remix-based variation, do that pass on a non-edited base image first, then bring the result into the Edit Model afterward if you still need to adjust it.
1) Instruction-Based Edits
This is the most immediately useful capability for day-to-day content work. Instead of rewriting a prompt and hoping the new generation matches everything you liked about the old one, you describe only the change.
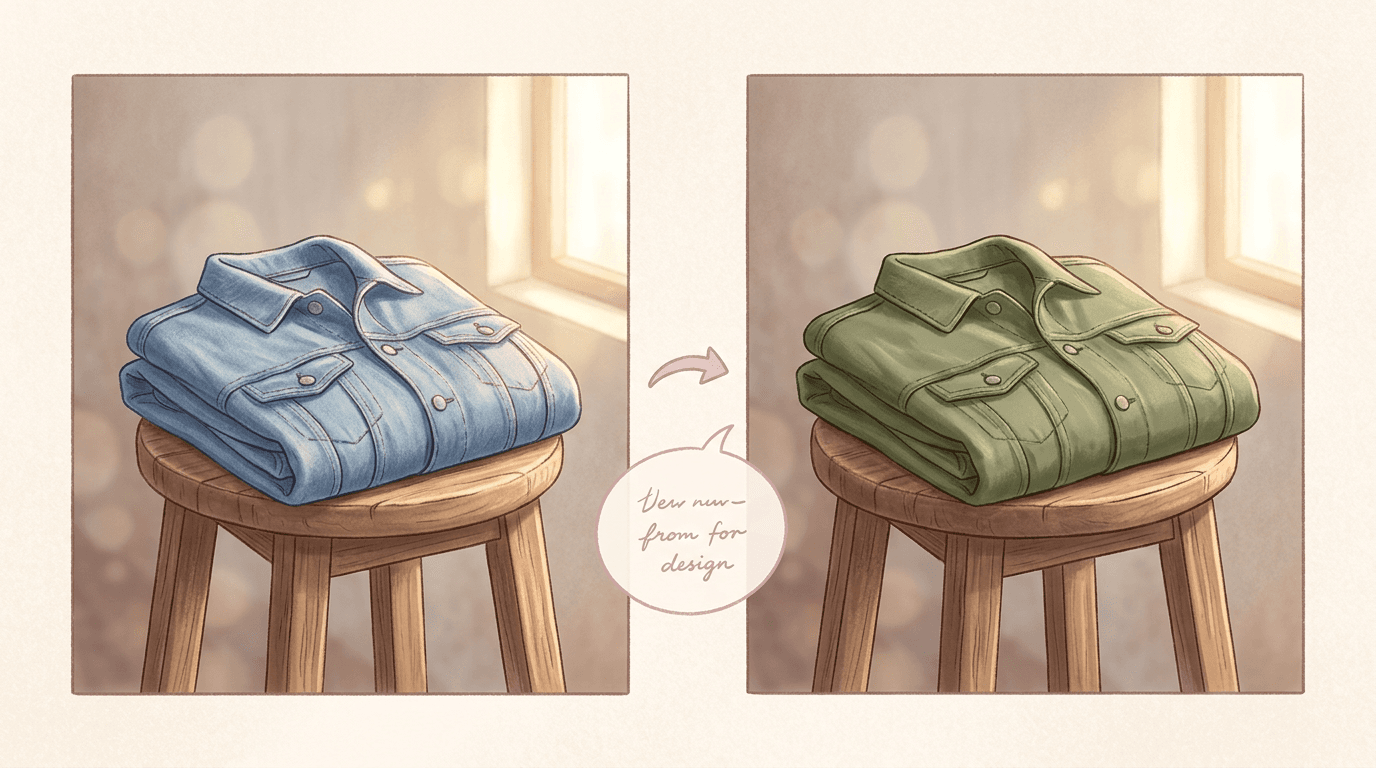
Swapping an outfit or product color without touching the rest of the scene
This is the single most common request from creators doing product or fashion content: change one visual attribute and leave the pose, lighting, and background exactly as they were.
Using the attached product photo, change only the jacket color from denim blue to matte olive green. Keep the exact same pose, facial expression, lighting direction, background, and fabric folds unchanged. Do not alter anything outside the jacket.
Changing the background or setting behind a subject
Useful when you already nailed the subject's expression and pose and just need a different location or backdrop around them.
Using the attached photo, replace the plain studio background with a softly blurred outdoor cafe terrace at golden hour. Keep the subject's pose, expression, clothing, and lighting on the subject exactly as shown. Match the new background's warm light direction to the existing light on the subject's face.
Shifting the lighting mood without regenerating the composition
A lot of creators generate a technically perfect shot, then realize the lighting reads as flat daytime when the brand actually needed warm, moody evening light. This used to mean starting over.
Using the attached image, change the lighting from flat daytime light to warm, moody evening light coming from a single lamp just outside the left edge of the frame. Keep the composition, subject position, and all objects in the scene exactly as shown, only shift the light source, color temperature, and shadow direction.
Adding or removing a specific object
This is where instruction-based editing quietly saves the most time, since removing a stray object used to mean either a full regeneration or a manual retouch in another program entirely.
Using the attached photo, remove the coffee cup sitting on the desk in the lower right corner and fill that area with the same wood grain and lighting as the rest of the desk surface. Do not change anything else in the image.
2) Multi-Reference Generation With Up to 4 Images
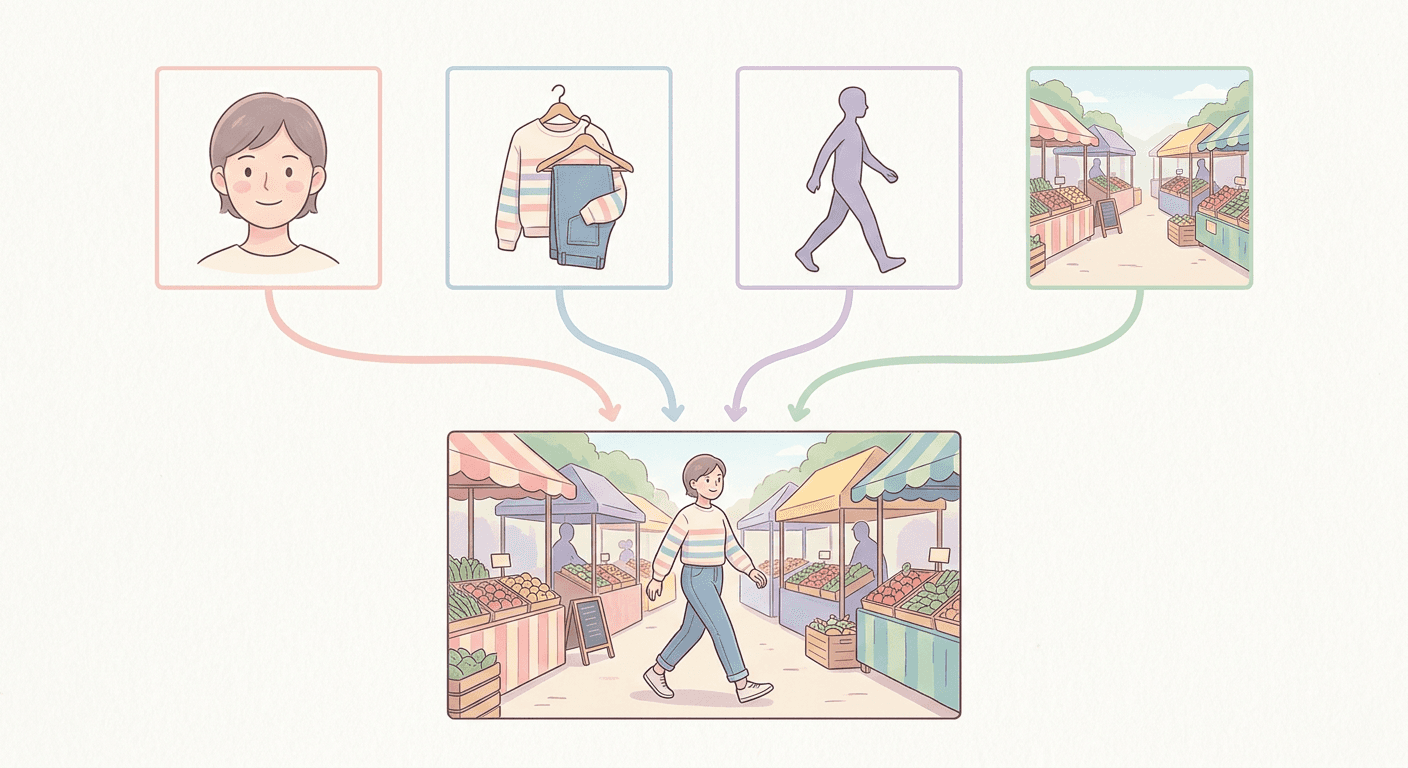
This is the direct successor to Omni Reference, and it is a real capability jump, not just a rename. Where Omni Reference generally worked best with a single strong reference image, the Edit Model lets you combine up to four references in one generation, each contributing a different element: one for the face, one for the pose, one for the outfit, one for the environment, for example.
Keeping a brand mascot or spokesperson consistent across a shot list
If you run a channel or brand account with a recurring character, this is the single biggest time-saver in the whole update.
Using the four attached reference images of our brand mascot character (front view, side view, standing pose, and waving pose), generate a new image of the same mascot sitting at a desk holding a coffee mug, keeping the exact same face proportions, color palette, and outfit details shown across all four references. Studio lighting, clean background.
Combining a product photo with a separate lifestyle scene
A very common e-commerce need: you have a clean studio shot of the product and a separate reference of the kind of lifestyle setting you want it placed into.
Using the attached studio product photo of the ceramic mug as the first reference and the attached kitchen countertop lifestyle photo as the second reference, place the exact mug from the first reference naturally onto the countertop shown in the second reference, matching the countertop's existing light direction and shadow softness. Keep the mug's shape, glaze color, and handle design identical to the first reference.
Merging an outfit reference, a pose reference, and a location reference into one shot
This is the kind of composite that used to take three separate Midjourney passes plus manual compositing in Photoshop.
Using the three attached references, an outfit reference, a walking pose reference, and a city street location reference, generate one image of a person wearing the exact outfit from the first reference, in the exact walking pose from the second reference, standing on the street shown in the third reference. Match the location's existing lighting and time of day.
Building a character turnaround from a single front-facing reference
Useful for anyone building out a recurring animated or illustrated character for thumbnails or Shorts content, where you need the same character from multiple angles.
Using the single attached front-facing character reference, generate a three-quarter side view and a full back view of the same character, keeping the face, hairstyle, outfit colors, and body proportions consistent with the reference. Neutral studio background, even lighting, no props.
3) Inpainting and Outpainting
Inpainting means changing only a specific, masked region of an image and leaving everything outside that mask untouched. Outpainting means expanding the canvas beyond the image's original edges, generating new content that extends the scene outward. Both existed inside Midjourney's Editor before, but they now live inside the same Edit Model panel as instructions and references, so you can mask a region and describe the change to it in the same breath.
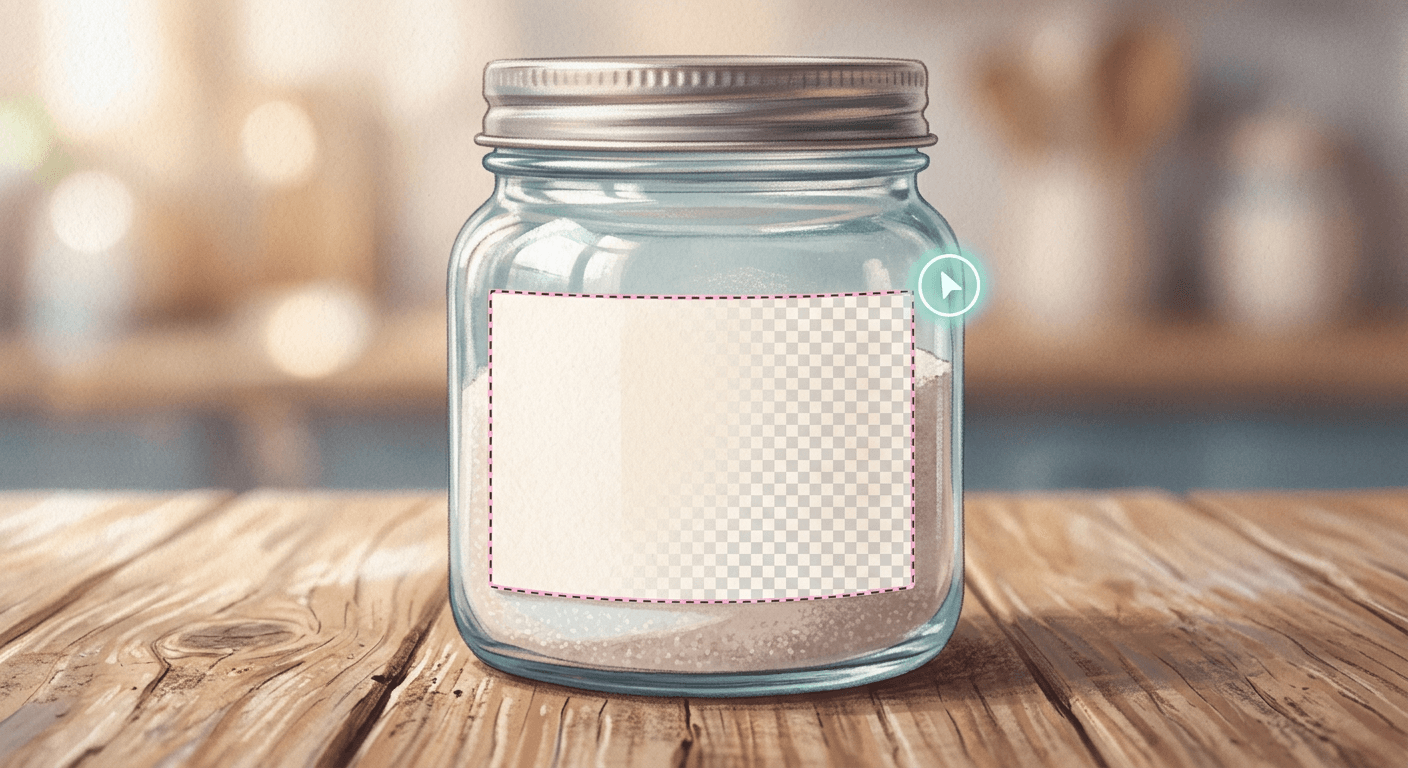
Inpainting a logo or label onto a product without disturbing the rest of the shot
This is one of the most requested edits from anyone doing branded product content, since generating a whole new image just to fix one label rarely gives you back the exact same lighting and shadow.
Mask only the blank label area on the attached jar photo and fill it with a small circular logo mark in deep forest green with a thin gold ring border. Keep the jar's glass texture, reflections, cap, and background completely unchanged outside the masked label area.
Fixing a distorted hand or small detail inside an otherwise good image
Even strong generations occasionally produce an odd hand, a warped object edge, or a strange reflection. Masking just that region and re-generating it is far more reliable than starting over.
Mask only the left hand in the attached image, which currently shows an extra finger, and regenerate it as a natural relaxed hand resting on the table with five fingers, matching the existing skin tone, lighting, and shadow direction. Keep everything outside the masked hand area unchanged.
Outpainting a square generation into a vertical thumbnail or Story frame
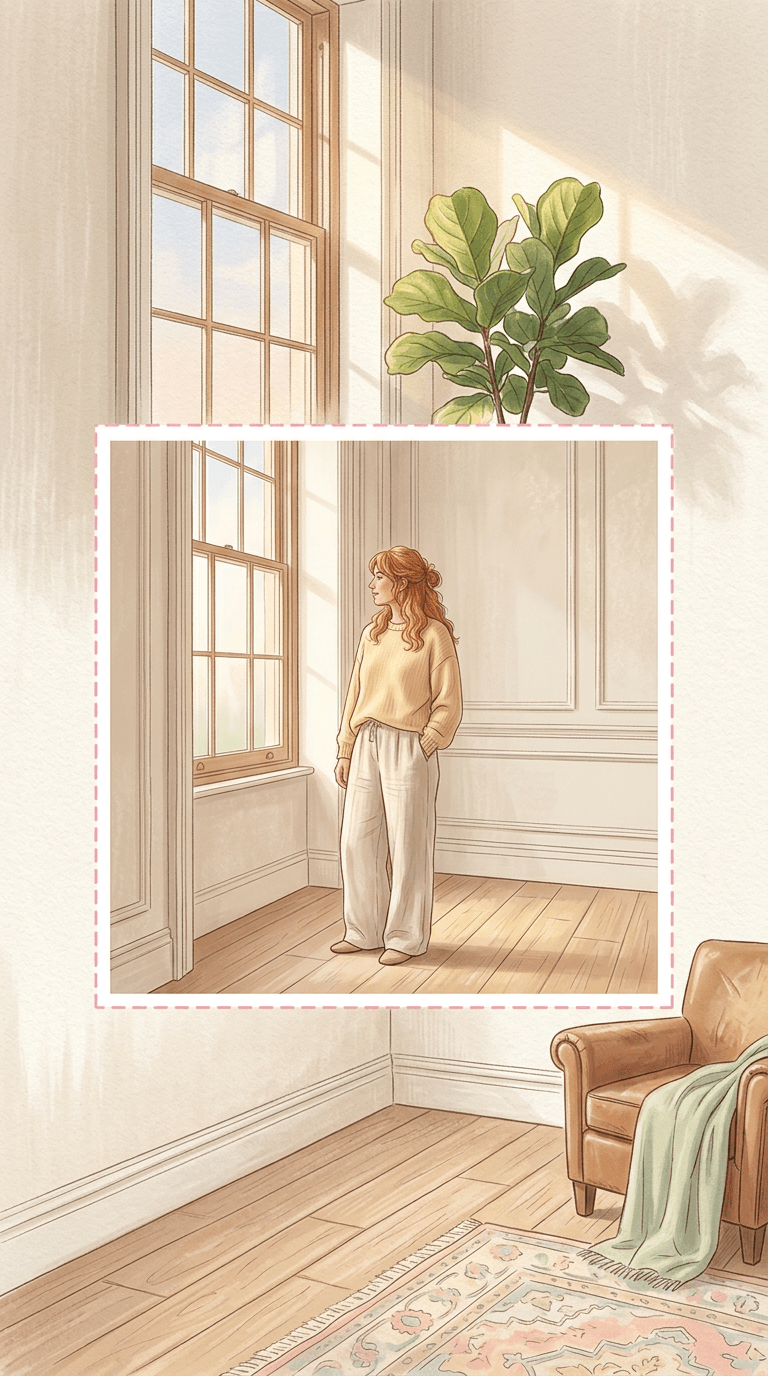
A genuinely common problem: you generated a square or landscape image you love, but you actually need it in a taller vertical frame for a Short, a Story, or a mobile thumbnail.
Outpaint the attached square image upward and downward to create a 9:16 vertical frame. Extend the existing room's wall texture, floor, and lighting naturally in both directions, keeping the original subject centered and unchanged in scale and position within the new taller frame.
Widening a portrait shot into a horizontal channel banner
The same idea in reverse, useful for turning a tighter shot into wide-format cover art or a banner without losing the original subject's position.
Outpaint the attached portrait photo left and right to create a wide 16:9 banner. Extend the existing background scene naturally on both sides, matching the current lighting and depth of field, keeping the original subject's position roughly centered rather than stretched.
4) Moodboards and Style References
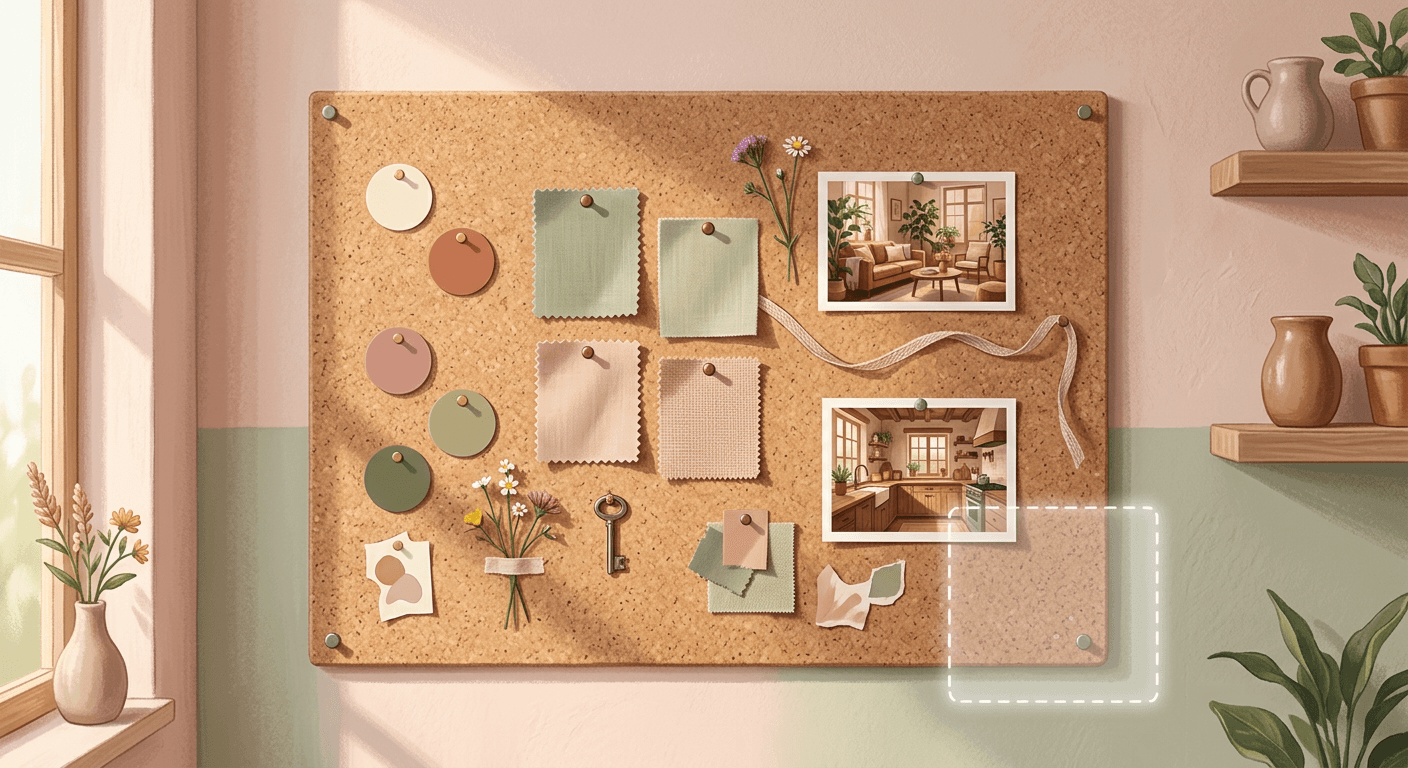
Moodboards and style references (srefs) both still work inside the Edit Model, but Midjourney's own release notes carry a real caveat here worth repeating in plain language: moodboards and srefs may need extra, explicit prompt direction in this version to behave the way they did before, rather than automatically carrying over a style the way you might expect from earlier versions. Treat that as a genuine limitation to plan around, not a bug you are doing something wrong to trigger.
Locking a brand's color palette and texture across a batch of images
If you maintain a moodboard for a client or your own brand, this is how to keep the Edit Model honest about following it instead of drifting.
Using the attached moodboard of sage green, warm terracotta, and soft cream fabric swatches, generate a product photo of the ceramic vase strictly using only these three colors across the vase, background, and props. Explicitly match the vase's glaze to the terracotta swatch and the backdrop to the cream swatch, since the moodboard alone may not fully carry these exact tones.
Applying a recurring channel look via style reference
Useful for creators who already have a signature sref code they reuse across thumbnails or cover art and want the Edit Model to respect it during an edit pass, not just a fresh generation.
Using the attached style reference from our previous thumbnails, generate an edited version of this new photo that matches the same soft pastel color grading, the same high-contrast rim lighting on the subject, and the same shallow depth of field seen in the style reference. State each of these traits explicitly rather than relying on the style reference alone to carry them.
Combining a moodboard with explicit backup instructions
Since moodboards and srefs may need extra direction in this version, this prompt pattern spells out the exact visual traits the moodboard represents, so the instruction carries the weight if the moodboard alone under-delivers.
Using the attached moodboard and style reference together, apply the moodboard's warm terracotta and cream color palette and the style reference's soft grain texture and rounded-corner framing to the attached product photo. Explicitly preserve the product's exact shape and label details while only changing the surrounding color grading and framing style.
Beginner vs. Established Creator: How to Use This Differently
If you are new to Midjourney entirely, the Edit Model is genuinely good news. You no longer need to learn --cref, --oref, --sref, and a retexture-specific workflow as four separate skills before you can produce consistent, branded content. Start with plain instruction-based edits on images you generate fresh, get comfortable describing changes in full sentences rather than keyword fragments, and only move into multi-reference generation once you have a couple of reference images you actually like the results from. Trying to run a four-image reference generation as your very first Midjourney session is a good way to get a confusing, over-constrained result before you understand what each reference is contributing.
If you already have an established Midjourney workflow built around the old tools, the bigger adjustment is habit, not skill. You likely have muscle memory around uploading to Character Reference for faces and a separate Retexture pass for materials. The instinct to keep those as two steps is going to persist for a while even though the Edit Model wants you to describe both changes in one instruction with the relevant reference images attached. The creators getting the most out of this update in the first few weeks are the ones deliberately combining what used to be two-step edits into single, richer instructions, rather than just running their old two-step process through the new interface out of habit.
Established creators running a real content pipeline should also treat this as a moment to rebuild their prompt library. If you had a folder of proven Character Reference and Retexture prompt patterns, most of that phrasing still works as the instruction half of an Edit Model prompt, but the reference-attachment step has changed enough that it is worth re-testing your five or six most-used patterns rather than assuming they behave identically.
How to Adapt These for Your Own Brand or Workflow
Every prompt above is a starting template, not a fixed script. A few practical ways to adapt them:
- Swap the subject description for your actual brand asset. If a prompt says "a ceramic coffee mug," replace it with your specific product's real material, shape, and color so the instruction has something concrete to lock onto rather than a generic placeholder.
- Keep one reference image constant across a batch. If you are producing five product shots for the same client, reuse the same one or two anchor reference images across all five generations rather than swapping every reference each time. Consistency comes from repetition of the same references, not from varying them.
- Write instructions the way you would brief a real photo retoucher, not the way you would write a keyword-stuffed prompt. "Change the jacket to a matte olive green, keep the lighting and pose exactly as shown" reliably outperforms a comma-separated list of adjectives.
- Test outpainting direction before committing to a final aspect ratio. Outpainting upward tends to add headroom or sky, outpainting sideways tends to extend the environment, and which one actually serves your final placement (a YouTube thumbnail versus a vertical Short cover versus a Story frame) is worth a quick test pass before you build a whole batch around one direction.
- Save your best-performing instruction phrasing, the same way you would save a proven prompt template, since the instruction language is now doing the job that four different parameters used to split between them.
Common Mistakes People Make With the New Edit Model
Only attaching one reference image out of the four available. Old Omni Reference habits mean a lot of people are still uploading a single reference and wondering why multi-subject consistency is not as strong as expected. If you need a face, an outfit, and a setting all locked down, attach references for each rather than relying on one image to carry everything.
Expecting a moodboard or style reference to fully transfer style with no extra instruction. As Midjourney's own notes state directly, moodboards and srefs may need more explicit prompt direction in this version. If your style reference feels like it is being ignored, add a plain-language instruction describing the specific traits (color palette, line weight, lighting mood) instead of relying on the reference image alone.
Trying to use --tile on an Edit Model generation. This parameter is not currently compatible with the Edit Model. If you need a seamless, tileable pattern, generate that on a standard (non-edit) pass first.
Assuming Remix still works on an edited output. Edit Model results are not currently compatible with Remix, so plan your variation passes before you start editing, not after.
Writing vague instructions like "make it better" or "improve the lighting." The Edit Model responds to specific, concrete instructions the same way a real photo editor would need specific direction. "Improve the lighting" gives the model nothing to target. "Change the light source to warm late-afternoon sunlight coming from camera-left" gives it something real to execute.
Confusing inpainting with outpainting. Inpainting changes what is already inside the frame. Outpainting extends the frame outward. Masking a region and asking the model to "expand the background" inside that same mask usually produces a worse result than choosing outpainting for that specific need.
Ignoring your final aspect ratio until after the edit is done. If the final asset needs to be a 9:16 Short cover or a 16:9 thumbnail, decide that before your outpainting pass, since outpainting in the wrong direction first means a second, wasted outpainting pass to fix it afterward.
When You Want a Faster or Simpler Alternative
Not every creator has Midjourney access, and not every job needs Midjourney's specific aesthetic or its credit-based queue. Miraflow's AI Image Generator supports the same core moves this guide just walked through: text-to-image generation, image-to-image editing from a reference, direct image editing from a written instruction, and inpainting where you mask a specific region and replace only that part of the photo, all directly inside the browser with no separate app or Discord server involved.
That makes it a natural parallel workflow rather than a replacement. If you already have a Midjourney habit and the Edit Model fits your process, keep using it. If you want to try the same kind of instruction-based edit or masked region replacement without learning a new interface, or if you need a result faster than a Midjourney queue allows during a busy posting day, Miraflow gives you a comparable path for tasks like swapping a product color, replacing a background, or fixing one detail in an otherwise finished image. It is also a genuinely fast option when the final destination is a thumbnail rather than a standalone image: Miraflow's YouTube Thumbnail Maker takes a similar upload-and-edit approach specifically tuned for thumbnail text, faces, and click-through-focused compositions.
If your work already leans on other image models alongside Midjourney, it is worth comparing notes across them. Our breakdown of Nano Banana Pro versus Seedream 5 Pro covers how two other 2026-era models handle reference-driven generation, and our guide to ChatGPT's Images 2.5 prompts walks through a similar instruction-based editing pattern from a different model entirely, useful context for seeing how much of this is becoming a shared interface pattern across the whole industry rather than a Midjourney-only idea.
Frequently Asked Questions
Do I need Midjourney V8.2 specifically to use the Edit Model? Yes. The Edit Model is built on top of V8.2, which became Midjourney's default version on July 24, 2026. If your account is still generating on an older default, update to V8.2 first before trying to access the Edit Model panel.
Does the Edit Model cost extra credits compared to a normal generation? Midjourney has not published a separate pricing tier specifically for Edit Model generations as of this writing. Treat it as part of your normal subscription usage the same way a standard generation is, and check your account's current plan details if you are unsure, since pricing details can shift during a public testing phase.
Can I still use the old --cref, --oref, and retexture syntax? Midjourney's notes describe these as retired in favor of the unified Edit Model rather than maintained side by side with it. The functionality they provided (identity locking, reference-driven generation, texture changes) is now handled through the Edit Model's instructions and multi-image references instead of those specific parameters.
How many reference images can I actually use at once? Up to four. You can mix what each one contributes, for example one for a face, one for an outfit, one for a pose, and one for a setting, in a single generation.
Can I inpaint or outpaint an image I did not generate in Midjourney? Yes. Uploading an outside image (a real photo, a client asset, a phone snapshot) through the dedicated edit tab starts an Edit Model session on it, so inpainting and outpainting are not limited to Midjourney-native outputs.
Is the Edit Model available on both the main site and the alpha site? Yes, both midjourney.com and alpha.midjourney.com received the interface update, though Midjourney has positioned the alpha site as where it ships and tests Edit Model changes first, so alpha may occasionally have small refinements before they reach the main site.
Why does my style reference or moodboard seem weaker than before? This matches Midjourney's own release notes, which state that moodboards and srefs may need extra, explicit prompt direction in this version rather than working as a fully automatic style transfer. Add specific language describing the style traits you want alongside the moodboard or sref rather than relying on the reference alone.
What if I do not have Midjourney access at all? Miraflow's AI Image Generator supports a comparable text-to-image, image-to-image, editing, and inpainting workflow directly in the browser, which covers most of the same day-to-day edits this guide walks through without requiring a separate account or Discord setup.
Conclusion
The real story behind Midjourney's V8.2 Edit Model is not any single new feature. It is that four tools you used to context-switch between, Omni Reference, Character Reference, Retexture, and separate inpainting or outpainting workflows, now live in one panel that responds to plain instructions and up to four reference images at once. That is a genuine reduction in how much syntax a creator needs to memorize before producing consistent, on-brand images, and it lines up with where the rest of the image-generation industry is heading in 2026: fewer parameters, more natural language, and editing that behaves like giving direction to a real retoucher rather than assembling a command string.
If you already use Midjourney, the fastest way to get value out of this update is to stop running your old two-step Character Reference plus Retexture habit through the new interface and instead write single, richer instructions that do both jobs at once. If you do not have Midjourney access, or you just want a quicker way to test the same instruction-based editing and inpainting ideas, Miraflow's AI Image Generator gives you a working parallel for the exact same use cases covered in this guide, from swapping a product's color to fixing one detail in an otherwise finished shot, all inside the browser. For thumbnail-specific work built around the same editing logic, our guides on hero object thumbnail prompts and color block thumbnail prompts are a natural next stop, and if you are building out a recurring character or brand mascot the way several of the multi-reference prompts above describe, our Pixar-style AI portrait prompts and AI action figure prompts guides cover two more style directions worth testing with this same reference-driven workflow.