20 AI Melting Effect Prompts for the Viral Melt Video Trend (Copy & Paste, 2026)

Written by
Aerin Kim
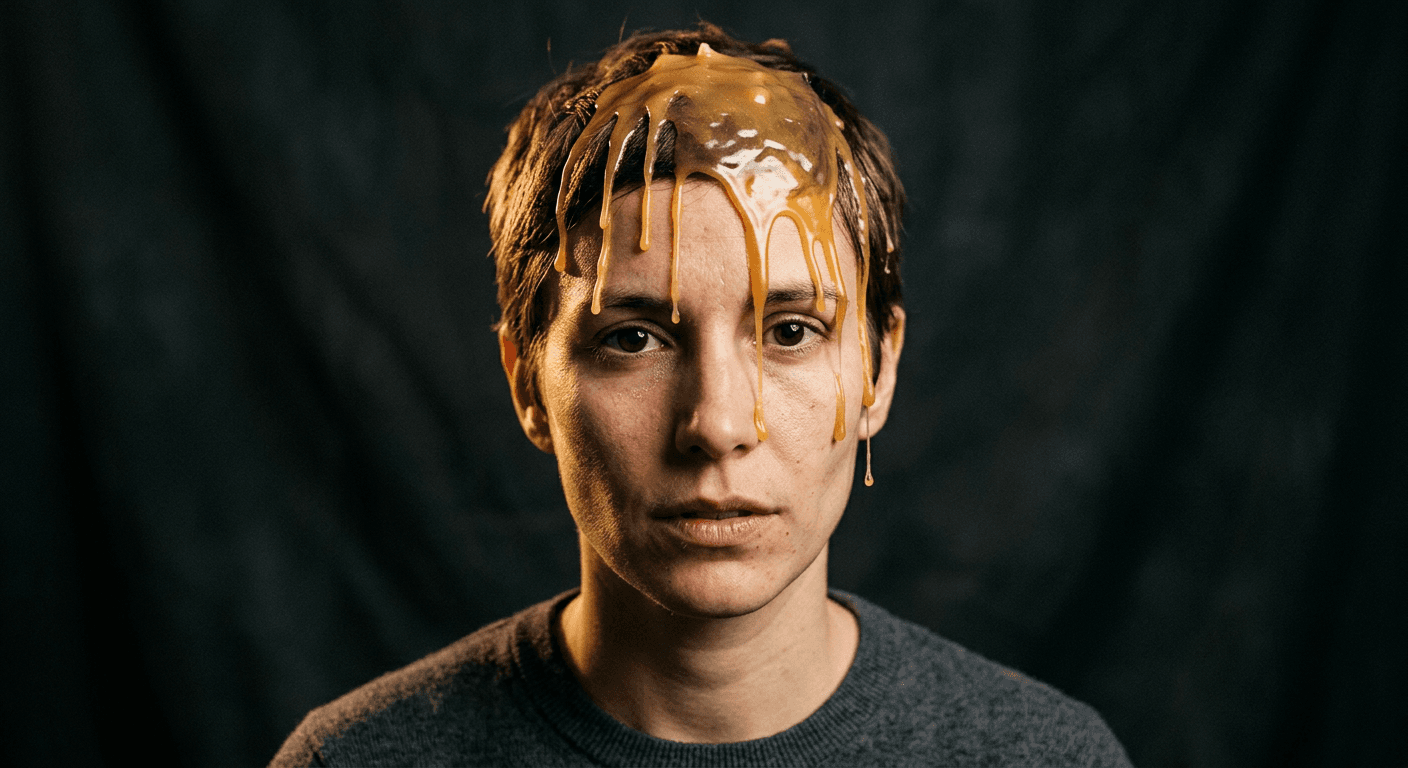
The Melting trend turns any photo into a video of it dissolving top-down into liquid. Here are 20 grouped AI melting prompts plus the Miraflow workflow to make one.
TL;DR
The Melting effect is one of the AI video trends that has genuinely stuck through 2026 instead of fading after a week. A photo of a person, a character, or an object gets animated so it appears to dissolve from the top down into a pool of liquid, skin and fabric and surface detail sagging and running like warm wax before the frame settles into a glossy puddle. It shows up constantly in hot-weather and heatwave jokes, fashion transition clips where one outfit liquefies into the next, surrealist art accounts, and music-video-style visuals built around saturated color and reflective liquid.
CapCut has its own dedicated melting template and challenge inside the Creator Centre, and several standalone AI melt-video generators have popped up specifically to chase this one effect, which is a reasonable signal that the format has real staying power rather than being a one-week novelty. Below are 20 ready-to-use AI melting prompts, grouped by subject, written for Miraflow's Cinematic AI Video Generator, which turns a written prompt and an uploaded photo directly into a short cinematic clip without any timeline editing or keyframing.
What Is the AI Melting Trend, and Why Is It Everywhere Right Now
The mechanic behind the Melting trend is easy to describe and oddly hypnotic to actually watch. You start with a clean, intact photo, a selfie, a full-body shot, a character in costume, a product on a shelf, and the video animates the top of that subject softening first, the way a wax figure starts to slump under a heat lamp. The softened material sags downward, picks up speed as more of the subject liquefies, and the clip usually ends on a glossy, reflective puddle that still faintly suggests the shape of what used to be there. The best versions hold a clean, completely undistorted beat at the very start, so the viewer has something solid to contrast the dissolve against. Without that clean opening beat, a melt just reads as a blurry mess rather than a transformation.
Three separate audiences have picked this effect up for three different reasons, which is a big part of why it is everywhere right now rather than confined to one niche. Comedy and lifestyle accounts use it for heatwave and summer content, filming a normal day and then cutting to a version of themselves visibly melting on camera as a joke about the temperature. Fashion and styling accounts use it as a literal garment transition, one outfit liquefies away to reveal a second outfit underneath, which turns a plain outfit-change video into something with a genuine visual hook instead of a hard cut. And surrealist art, music video, and album-art style accounts use it purely for the visual itself, chasing the saturated color and liquid-reflection look rather than any narrative joke at all.
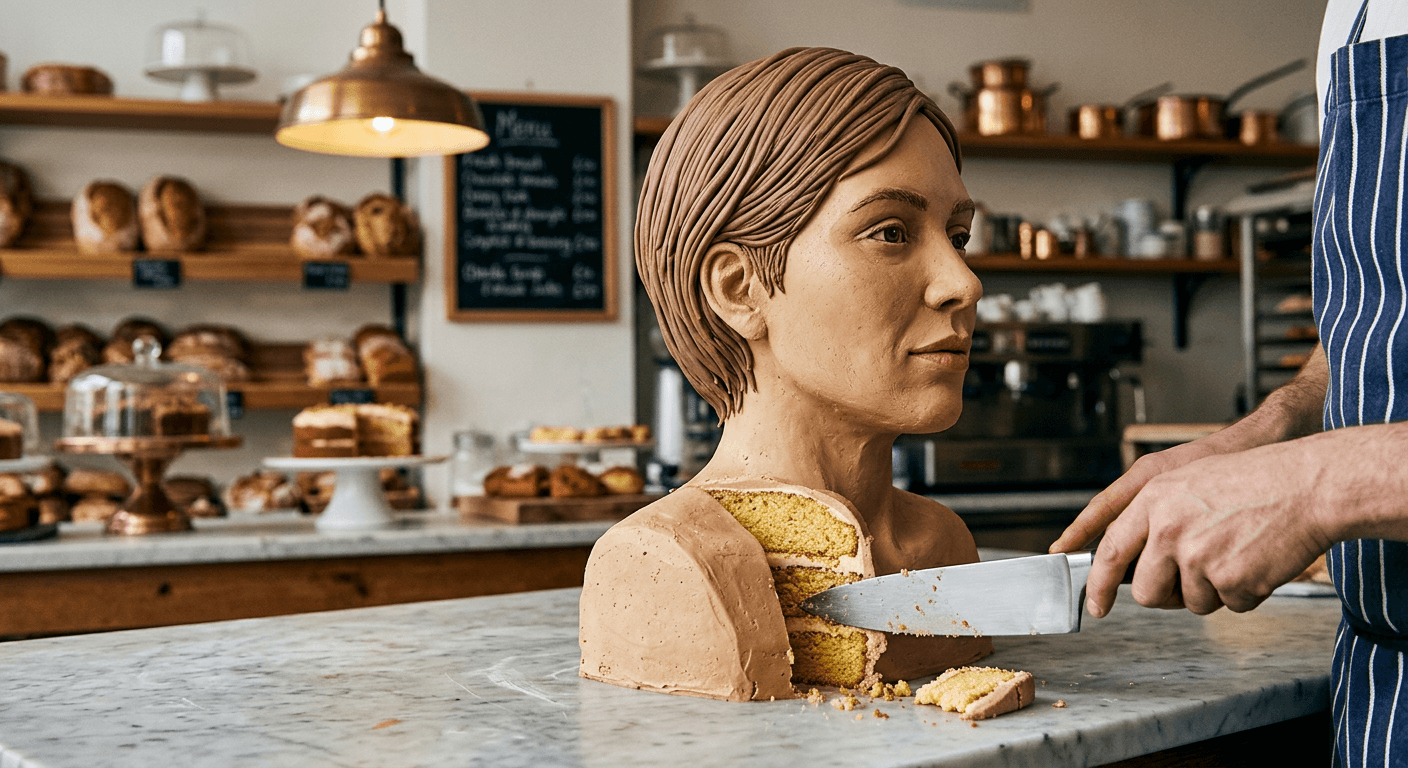
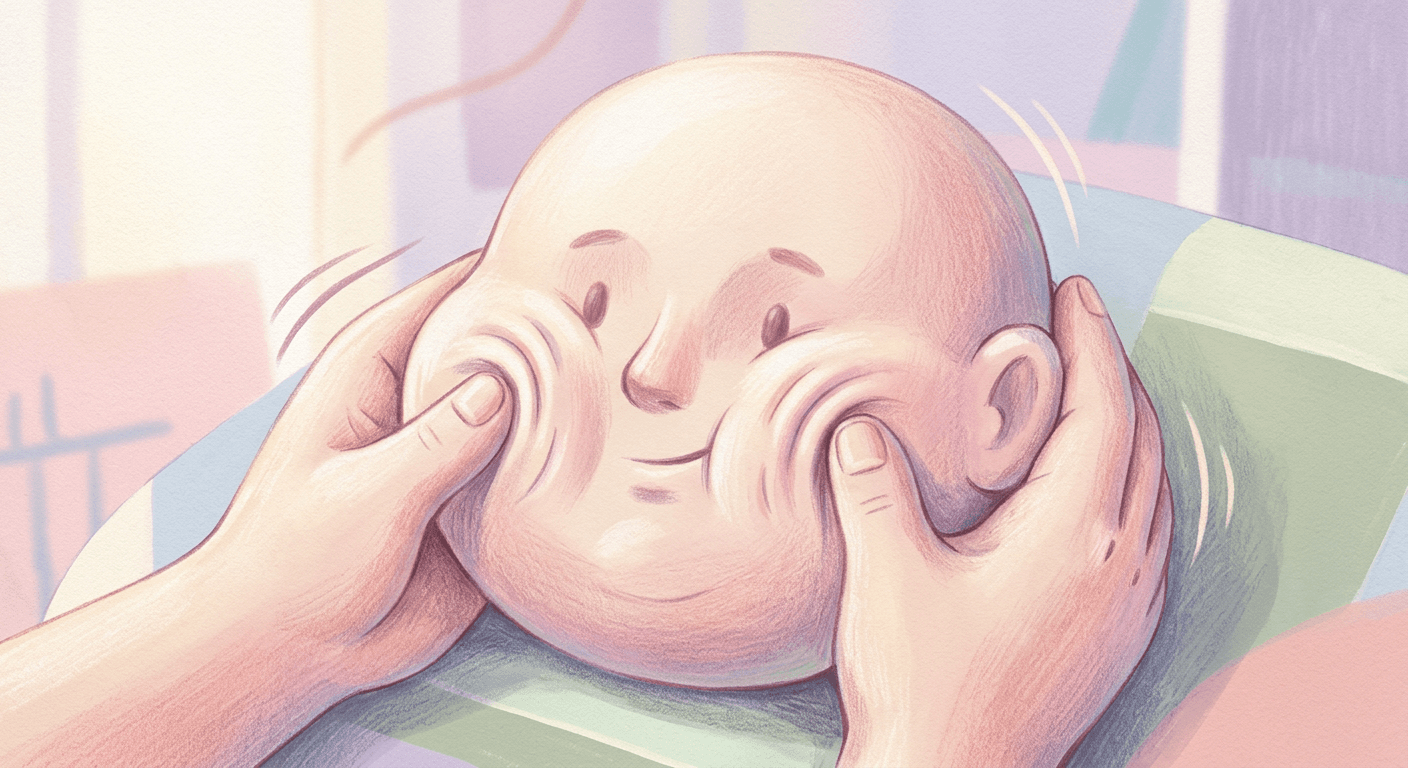
The Melting effect sits in the same family as a handful of other tactile, physically-impossible AI video effects that took off together through 2026, the same wave that includes the Cakeify trend and the Squish effect. All three work on the same underlying principle, take something the viewer knows should behave one specific way, and show it behaving completely differently on camera. Melting is the one-way, gravity-driven member of that family. Squish presses and recovers, cakeify cuts open to reveal a hidden interior, and melting just keeps going until the subject is gone, which is exactly the quality that makes it feel final and a little eerie in a way the other two effects do not.
CapCut built out a dedicated melting effect inside its Creator Centre, complete with a standing task challenge and several ready-made templates, which is usually a strong signal that a visual effect has moved from a niche prompt trick into something an entire platform is actively promoting. That said, you do not need CapCut's specific template to get a usable result. The prompts below describe the actual technique rather than app-specific settings, so they work in any image-to-video tool that can follow a detailed motion prompt.
How to Make an AI Melting Video With Miraflow's Cinematic AI Video Generator
The fastest path from an idea to a finished melt clip is going straight from a written prompt to video, which is exactly what Miraflow's Cinematic AI Video Generator is built for. Paste in one of the 20 prompts below, upload the photo you want to animate, and it produces a short cinematic clip directly, no separate animation software or manual keyframing required.
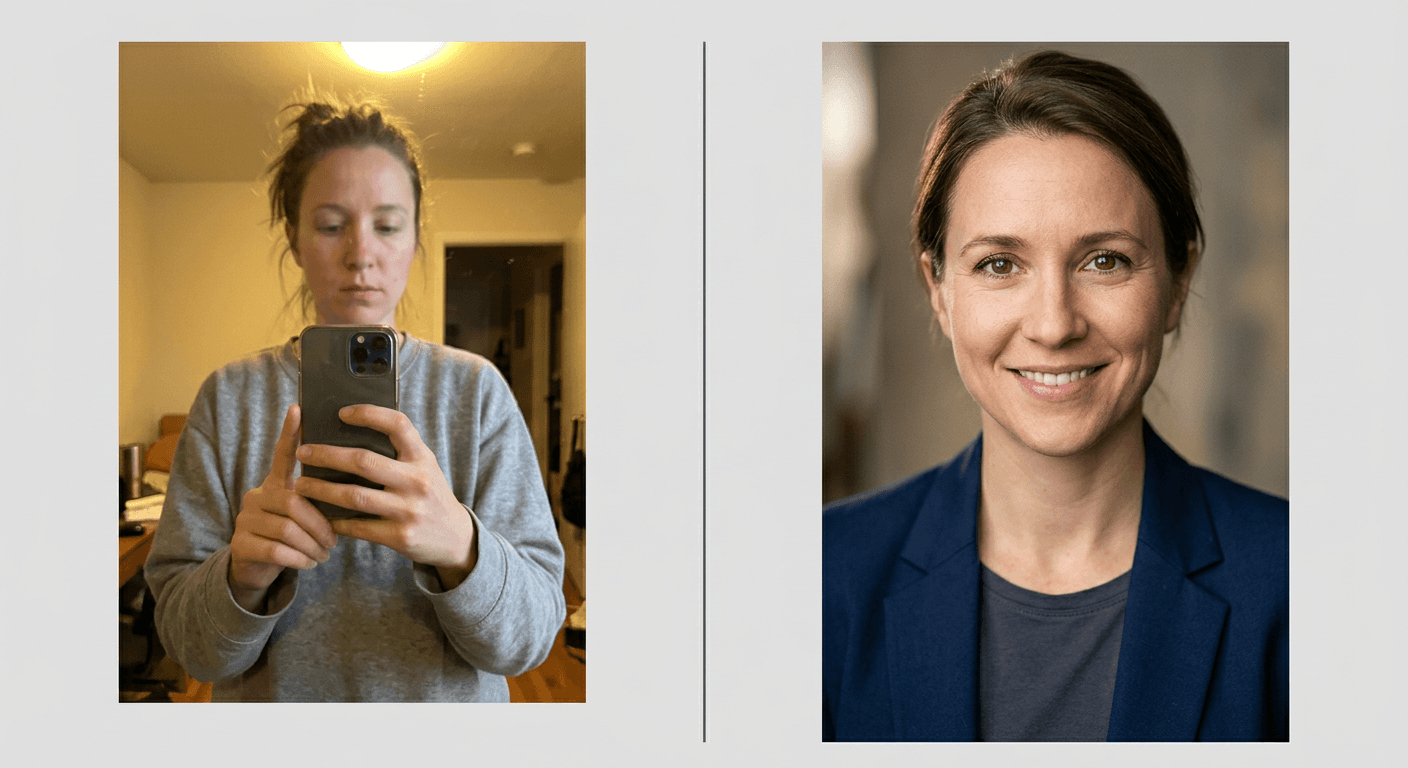
The starting photo matters more for this effect than it does for most AI video trends, because the whole illusion depends on the viewer recognizing exactly what is melting away. A blurry, poorly lit, or heavily cropped reference photo gives the model far less real detail to hold onto before the dissolve begins, which tends to produce a vague, generically humanoid puddle instead of a recognizable transformation. Before animating anything, it is worth cleaning up the source photo first with Miraflow's AI Image Generator, whether that means fixing the lighting, removing a distracting background, or using its inpainting tools to adjust one small region, a clothing color, a prop, a background detail, without regenerating the whole photo from scratch. A sharp, well-lit, fully visible subject is the single biggest lever you have over how convincing the final melt looks.
Once the starting photo is ready, the workflow is short. Pick the category below that matches your subject, copy the prompt, swap in the details that match your actual photo, and generate the clip through Miraflow's Cinematic AI Video Generator. Review the opening beat specifically before you post it, since a melt that starts dissolving immediately loses the clean before-and-after contrast that makes the effect satisfying to watch in the first place.
1) Self-Portrait and Face Melt Prompts
Face melts are the format most people try first, since a selfie is the easiest photo to have on hand and the result is the most immediately personal. Likeness through the first few frames is what sells this category, so a well-lit, front-facing reference photo matters more here than almost anywhere else in this post.
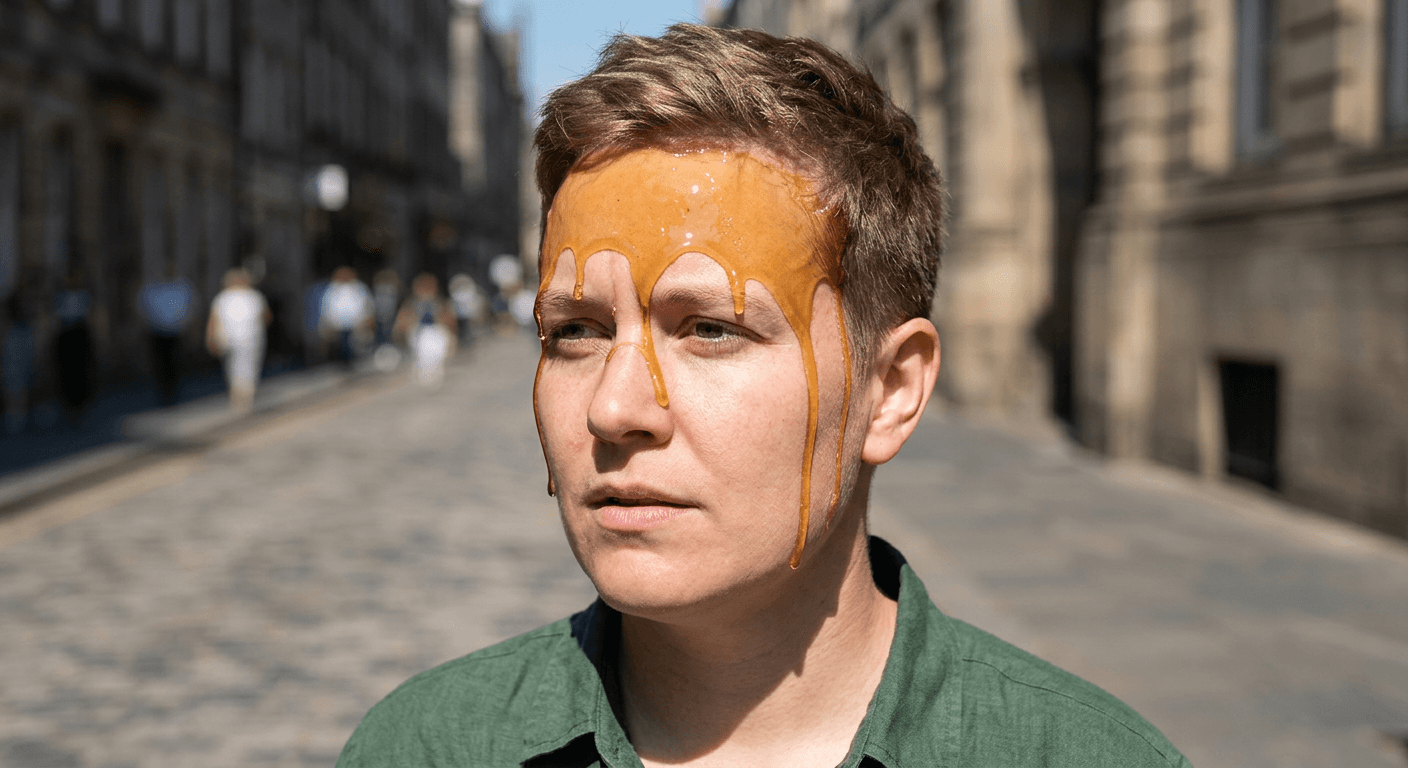
Prompt 1: Classic Top-Down Face Melt
The foundational version of the effect: a calm, undistorted face holds for a beat, then softens from the hairline down into a glossy puddle on the surface below.
Animate this photo into an 8 second clip. Hold the subject completely still, sharp, and undistorted for the first 2 seconds so the viewer clearly registers the real starting photo. Beginning at the hairline, render the top of the head softening into a warm, translucent wax-like material with a glossy sheen, sagging and running downward over the forehead and down past the eyes in thick, uneven ribbons over the next 4 seconds, while the lower jaw and shoulders remain the last area to dissolve. End on a 2 second hold of a small glossy puddle forming below, the puddle faintly retaining a rough head-and-shoulders outline rather than spreading into a shapeless blob. Light the scene with a single warm key light from slightly above and to one side, catching a visible highlight on each wax ribbon as it moves. No distortion or softening visible during the first 2 second hold, no sudden jump cut into the melt, no squish-and-bounce motion where the material presses and springs back instead of dissolving downward, no garbled or illegible text, no blurry shapeless puddle with no trace of the original silhouette.
Prompt 2: Heatwave Selfie Melt
A comedic, sped-up version built for summer-heat content, framed like an ordinary selfie video that suddenly turns into a melt the moment the joke lands.
Animate this selfie-style photo into a 6 second comedic clip, framed like an ordinary phone selfie video. Hold the subject normal and unbothered for the first 1.5 seconds, fanning themselves or reacting to heat, before the melt begins. Starting from the top of the head, soften the skin and hair into a glossy, honey-colored liquid that runs downward in a fast, exaggerated drip over the next 3 seconds, visibly speeding up as more of the face and neck liquefy, while keeping a recognizable echo of the original expression in the melted texture rather than a plain blob. End on a 1.5 second hold of a small puddle at the subject's collar with a visible, slightly comedic residual shape. Light it with bright, slightly overexposed natural daylight as if filmed outdoors on a hot day, handheld selfie framing with a visible slight camera shake. No distortion during the initial hold, no slow-motion pacing that undercuts the comedic speed, no squish-and-recover motion, no garbled or illegible text, no shapeless puddle with zero trace of the original face.
Prompt 3: Macro Cheek and Eye Melt Detail
An extreme close-up isolated on one side of the face, built to showcase the actual texture of the dissolve rather than the whole-head transformation.
Animate this close-up facial photo into a 7 second macro clip, isolated tightly on one cheek, eye, and temple rather than the whole face. Hold the skin completely sharp and textured for 2 seconds, showing real pore and skin detail, before any change begins. Over the next 3 seconds, soften that section into a translucent, glossy wax-like material, with the dissolve starting at the temple and spreading toward the cheek in a slow, deliberate ripple, individual drips forming and sliding downward at different speeds rather than one uniform sheet. End on a 2 second hold on the glossy, light-catching texture of the dissolved surface mid-drip. Light with a single soft directional light from one side, raking across the surface to emphasize the wet, reflective texture of the melt. No distortion during the initial 2 second hold, no flat or matte texture on the melted section, no squish-and-bounce motion, no garbled or illegible text, no motion blur so heavy the texture becomes unreadable.
Prompt 4: Slow-Motion Artistic Portrait Melt
A calmer, more deliberate studio-lit version meant for a portfolio or artistic post rather than a quick joke, with a longer, more controlled dissolve.
Animate this studio portrait photo into a 10 second slow-motion artistic clip. Hold the subject completely still and sharply lit for 3 seconds, establishing a calm, composed studio portrait. Beginning at the crown of the head, soften the material into a glossy, deep amber wax-like liquid, dissolving downward in slow, deliberate ribbons over the next 5 seconds, each ribbon catching a distinct highlight as it moves, the pace unhurried and controlled rather than fast or comedic. End on a 2 second hold of a shallow, mirror-like puddle forming at the base, the puddle's surface reflecting the remaining intact portion of the subject above it. Light with a single soft studio key light from the front-left and a subtle rim light from behind, both consistent throughout the entire clip. No distortion during the initial hold, no fast or jerky pacing, no squish-and-bounce motion, no garbled or illegible text, no flat matte texture on the dissolved material.
All four assume a clear, front-facing reference photo as the starting frame, the same principle that governs our AI headshot prompt pack: a clean, well-lit source photo carries more of the final result than any amount of extra prompt detail. Spend the extra few seconds picking a good reference photo before you generate.
2) Full-Body and Character Melt Prompts
Full-body melts scale the same mechanic up to an entire figure, which gives the effect room to travel further and usually reads as more dramatic than a face-only version. This group also covers costumed and character subjects, since a recognizable outfit or prop melting alongside the figure adds an extra layer of visual interest.
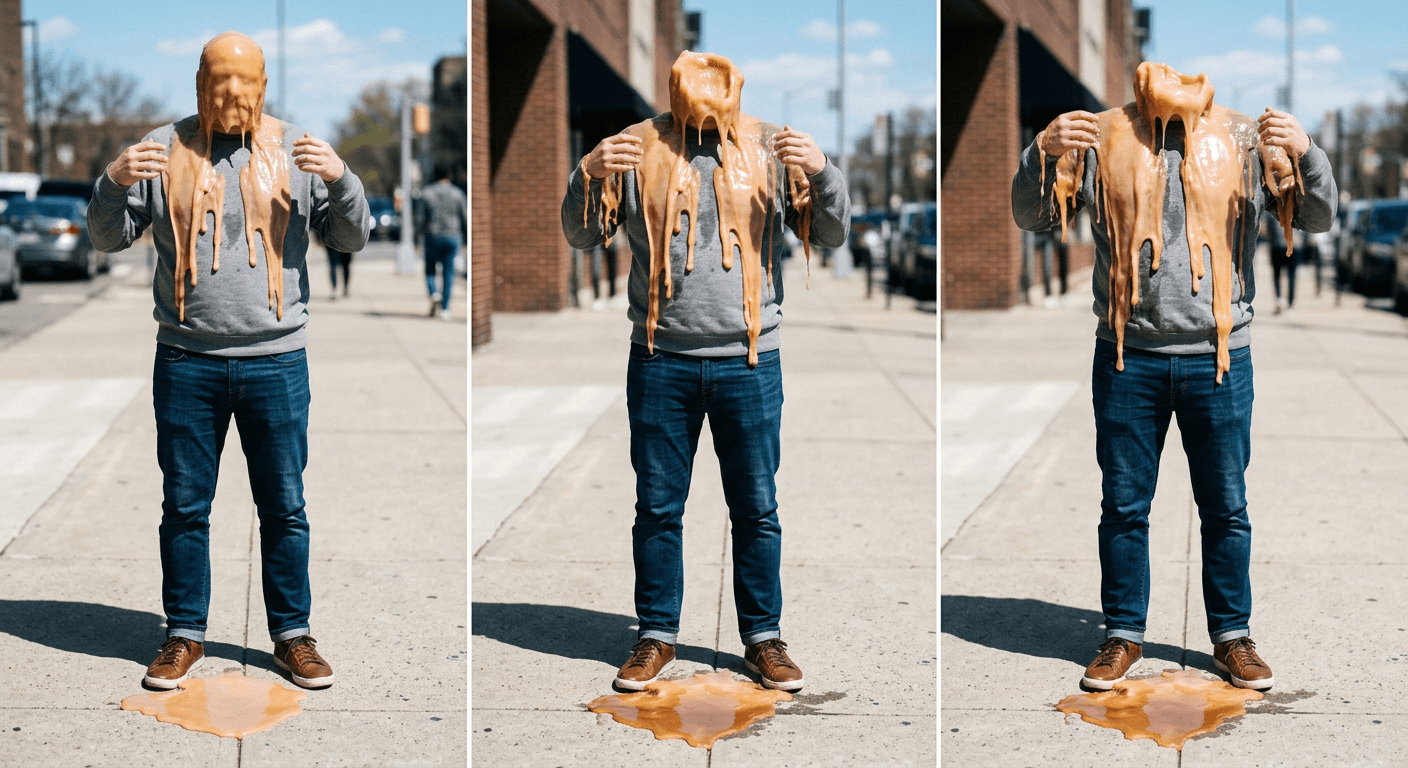
Prompt 5: Standing Figure Melt on Pavement
A full standing figure photographed outdoors, filmed melting downward onto the pavement beneath it, the clearest version of the heatwave-joke framing.
Animate this full-body outdoor photo into a 9 second clip. Hold the subject standing normally, fully intact and sharply lit, for 2 seconds before anything changes. Beginning at the head and shoulders, soften the figure into a warm, glossy wax-like material that sags and drips downward over the next 5 seconds, the dissolve traveling down through the torso and arms while the legs and feet remain the last solid part, standing in a small but growing puddle forming on the pavement beneath. End on a 2 second hold of the puddle spreading slightly wider, retaining a rough standing-figure outline rather than a shapeless blob. Light with bright, harsh midday sunlight from directly overhead, casting a short defined shadow and a visible highlight on the glossy puddle's surface. No distortion during the initial hold, no squish-and-bounce motion, no sudden jump cut into the dissolve, no garbled or illegible text, no distorted or extra limbs appearing during the melt.
Prompt 6: Costumed Character Melt
A figure in a distinct costume or outfit, with the costume's fabric and the figure underneath melting together as one continuous material, popular around Halloween-season content.
Animate this photo of a costumed figure into an 8 second clip. Hold the figure fully intact in costume for 2 seconds, the costume's fabric and texture clearly visible and undistorted. Beginning at the top of the head or mask, soften both the costume material and the figure beneath it together as one continuous warm, glossy liquid, dissolving downward over the next 4 seconds in thick uneven ribbons, with any costume color or pattern bleeding smoothly into the melted texture rather than disappearing abruptly. End on a 2 second hold of a glossy puddle at the figure's feet, the puddle's color faintly echoing the costume's original palette. Light with moody, slightly dramatic side lighting from one direction, consistent with a stylized character shot. No distortion during the initial hold, no squish-and-bounce motion, no sudden hard cut into the dissolve, no garbled or illegible text, no flat or matte texture on the melted costume material.
Prompt 7: Desk Worker Burnout Melt
A seated figure at a desk, used for relatable burnout or end-of-workday humor, melting into the chair and desk surface in a single continuous take.
Animate this photo of a seated figure at a desk into a 7 second clip. Hold the figure sitting normally at the desk, intact and alert, for 2 seconds. Beginning at the top of the head, soften the figure into a warm, glossy wax-like material that sags and drips down over the shoulders and onto the desk surface over the next 3 seconds, with the chair and desk themselves remaining solid and unaffected throughout. End on a 2 second hold of a small glossy puddle spreading across the desk surface near a laptop or keyboard, the puddle retaining a faint seated-shoulder outline. Light with the cool, slightly flat glow of a desk lamp or laptop screen mixed with dim overhead office lighting. No distortion during the initial hold, no squish-and-bounce motion, no sudden jump cut, no garbled or illegible text on any visible screen or paper, no distortion to the chair or desk itself.
Prompt 8: Backlit Doorway Silhouette Melt
A more artistic, backlit full-body shot in a doorway, the figure's silhouette softening and running downward against bright light coming through the frame.
Animate this backlit full-body photo into a 9 second artistic clip. Hold the figure standing in the doorway, backlit and sharply silhouetted, for 2.5 seconds. Beginning at the head, soften the silhouette's edge into a glossy, dark liquid that runs downward in slow ribbons over the next 4.5 seconds, the bright light source behind the figure catching a rim highlight along each drip as it falls, while the lower legs remain the last solid part. End on a 2 second hold of a dark, glossy puddle forming at the threshold of the doorway, the bright backlight reflecting off its surface. Light with a single strong backlight source filling the doorway, the figure itself staying in near-silhouette throughout. No distortion during the initial hold, no squish-and-bounce motion, no sudden hard cut, no garbled or illegible text, no loss of the doorway's architectural shape.
Full-body prompts benefit from a wider camera framing than the face group above, since the viewer needs enough room in frame to actually watch the dissolve travel from head to floor. A tight crop on a full-body subject tends to clip the puddle before it finishes forming, which cuts the clip off before its most satisfying moment.
3) Wax, Ice, and Object Melt Prompts
This group swaps a living subject for an object that is already associated with melting in real life, a wax figure, an ice sculpture, a shop mannequin, a chocolate centerpiece, which gives the effect a believable physical logic instead of asking the viewer to suspend disbelief about a person liquefying. It is also the easiest group to generate convincingly from pure text, since none of these subjects need to preserve a specific human likeness.
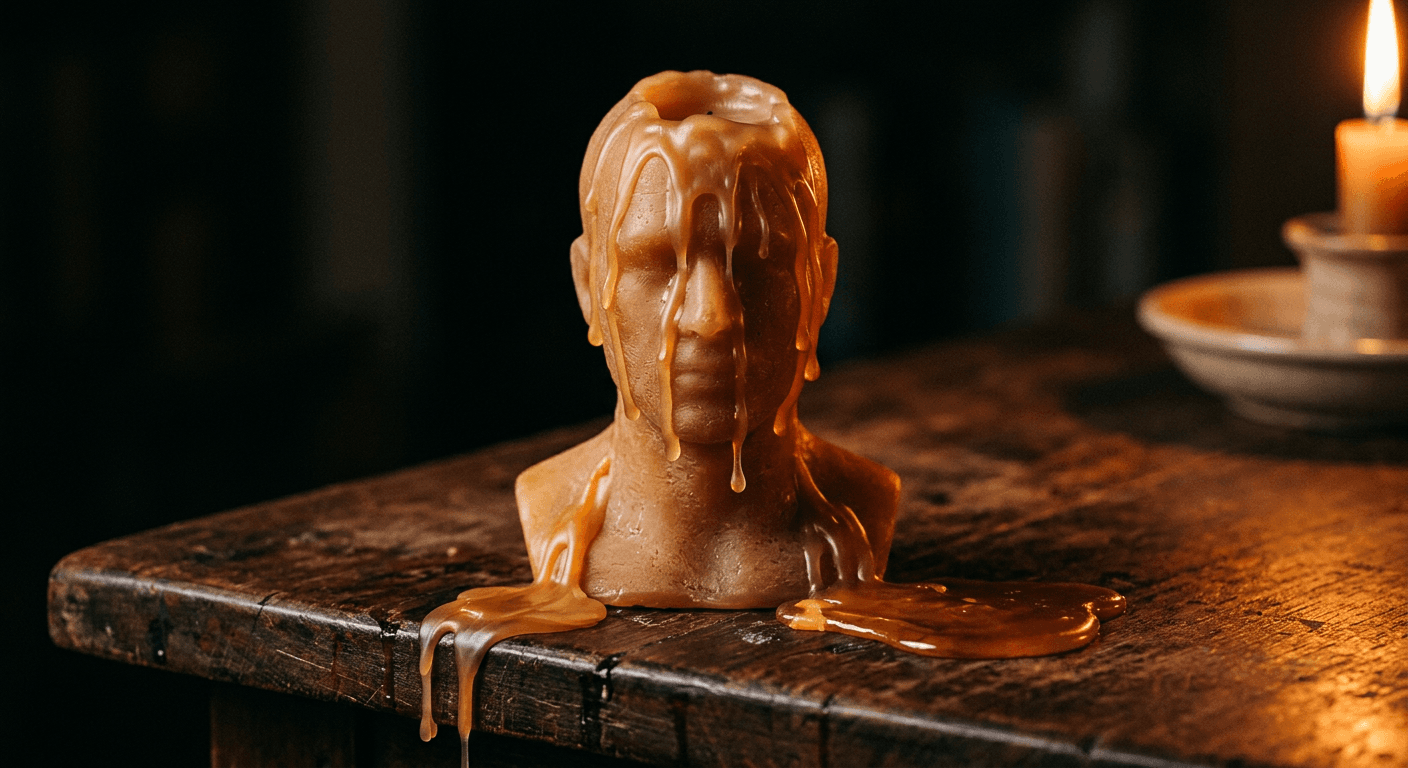
Prompt 9: Wax Bust Candle Melt
A sculpted wax bust, shaped like a generic head and shoulders, melting the way a real candle does under sustained heat, wick and all.
Animate this photo of a wax bust or candle shaped like a head and shoulders into an 8 second clip. Hold the bust intact and sharply sculpted for 2 seconds under a steady warm light. Beginning at the crown, soften the wax into thick, translucent amber drips running down the forehead and face over the next 4 seconds, a small flickering flame-style light source nearby providing the heat source implied in the motion, each drip catching a distinct glossy highlight. End on a 2 second hold of a shallow puddle spreading across the surface the bust sits on, faintly retaining the bust's rough silhouette. Light with a warm, flickering candlelight-style glow from slightly below and to one side. No distortion during the initial hold, no squish-and-bounce motion, no sudden hard cut into the melt, no garbled or illegible text, no plastic-looking flat wax texture.
Prompt 10: Ice Sculpture Bust Melt
The same bust shape rendered in clear ice instead of wax, melting under direct sunlight into a shallow pool of water on a catering table.
Animate this photo of an ice sculpture bust into a 9 second clip. Hold the sculpture fully frozen, crisp, and clear for 2.5 seconds under bright light. Beginning at the top, soften the ice into clear, glossy running water with visible drips sliding down the carved surface over the next 4.5 seconds, the ice becoming visibly more translucent and rounded at the edges as it melts rather than cracking or shattering. End on a 2 second hold of a shallow pool of clear water spreading across a catering table surface beneath the sculpture, the pool catching reflected light. Light with bright, warm sunlight or spotlight from above, creating sharp sparkling highlights on both the remaining ice and the forming water. No distortion during the initial hold, no cracking or shattering motion in place of a smooth melt, no squish-and-bounce motion, no garbled or illegible text, no cloudy or opaque texture on the melting ice.
Prompt 11: Shop Window Mannequin Melt
A storefront mannequin fully dressed in an outfit, softening and sagging inside the display window as if the glass itself were trapping heat.
Animate this photo of a dressed mannequin into an 8 second clip. Hold the mannequin standing fully dressed and intact for 2 seconds behind the shop glass. Beginning at the head, soften both the mannequin's surface and the outfit it wears together into a warm, glossy material that sags and drips downward over the next 4 seconds, the clothing fabric visibly melting at the same rate as the mannequin body beneath it rather than staying rigid. End on a 2 second hold of a glossy puddle pooling at the mannequin's base inside the display, the display window and surrounding store fixtures remaining completely unaffected. Light with the cool, even glow of overhead retail display lighting, with a soft reflection visible on the storefront glass. No distortion during the initial hold, no squish-and-bounce motion, no sudden hard cut, no garbled or illegible text on any visible price tag or signage, no warping of the window glass itself.
Prompt 12: Chocolate Showpiece Melt
A tall chocolate display figure, the kind used as a bakery centerpiece, melting under warm pastry-case lighting into a dark glossy pool.
Animate this photo of a tall chocolate showpiece or sculpture into an 8 second clip. Hold the showpiece fully sculpted and glossy for 2 seconds under warm bakery-style lighting. Beginning at the top, soften the chocolate into a dark, glossy liquid running down in thick, slow ribbons over the next 4 seconds, the surface staying rich and reflective rather than turning matte or chalky as it melts. End on a 2 second hold of a dark glossy pool spreading across the display stand beneath it, the pool catching a warm highlight from the overhead light. Light with warm, amber pastry-case style lighting from above, consistent throughout the clip. No distortion during the initial hold, no squish-and-bounce motion, no sudden hard cut, no garbled or illegible text on any nearby signage, no chalky or matte texture on the melting chocolate.
Object melts are also the most forgiving category for pure text-to-video generation, since the model does not have to preserve a specific face or recognizable pet, only a generic shape and a believable material. If you do have a real reference photo of a specific statue, mannequin, or showpiece, uploading it through Miraflow's Cinematic AI Video Generator still produces a more accurate silhouette than describing the object from scratch in text.
4) Fashion and Product Transition Melt Prompts
This is the category fashion and beauty accounts have picked up the fastest, since a melt doubles as a genuinely useful outfit-change or product-reveal transition instead of a plain hard cut. The subject's clothing, or the product itself, liquefies away to reveal something new underneath, which gives the effect an actual narrative job to do rather than existing purely for novelty.
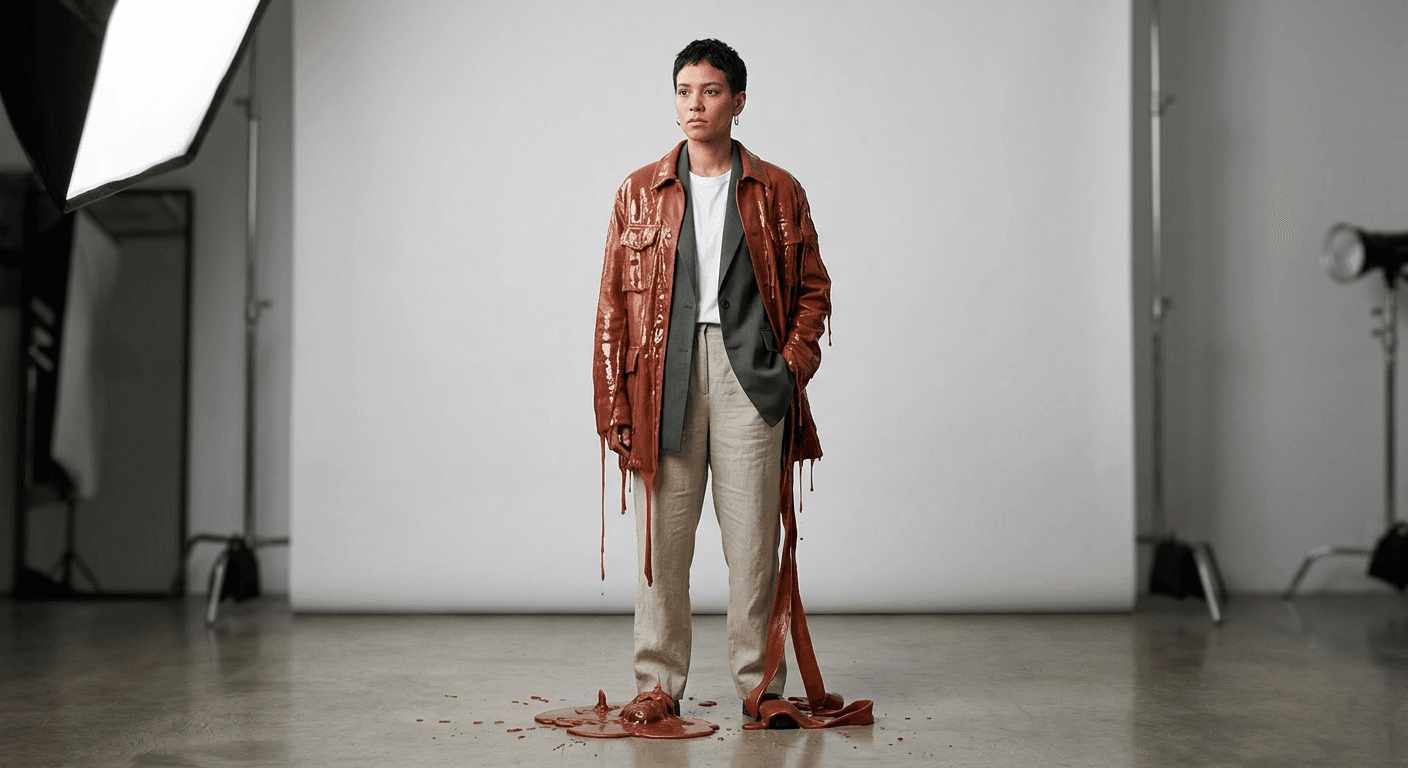
Prompt 13: Outfit-to-Outfit Melt Transition
A standing figure's entire outfit melts away in a single continuous motion to reveal a second, different outfit already in place underneath.
Animate this full-body fashion photo into a 7 second transition clip. Hold the subject standing in their first outfit, sharp and fully intact, for 1.5 seconds. Beginning at the shoulders, soften only the outer layer of the outfit into a glossy, wax-like shell that slides downward and off the body in thick ribbons over the next 3.5 seconds, while a second, completely different and already-finished outfit is revealed underneath exactly as the melting layer clears each section of the body. End on a 2 second hold of the subject standing fully in the new outfit, with the melted first outfit pooled neatly at their feet. Light with clean, even studio softbox lighting from the front, consistent across both outfits. No distortion to the subject's body or face at any point, no squish-and-bounce motion, no sudden hard cut instead of a visible dissolve, no garbled or illegible clothing label text, no mismatched lighting between the two outfits.
Prompt 14: Skincare Bottle Melt Reveal
A beauty-brand-friendly clip where a sealed product bottle melts away like a wax shell to reveal the real product packaging underneath, label kept legible throughout.
Animate this photo of a skincare bottle into a 6 second product clip. Hold the bottle looking like a plain wax-coated shell, intact and centered, for 1.5 seconds. Beginning at the cap, soften the outer wax shell into a glossy liquid that runs down and off the bottle over the next 3 seconds, revealing the real product bottle and its printed label underneath exactly as the wax clears each section, the label staying crisp and legible the instant it is revealed. End on a 1.5 second hold of the finished bottle standing clean next to a small puddle of the melted shell. Light with soft, bright studio product lighting from one side, a clean highlight running along the revealed bottle's curve. No distortion to the revealed bottle or its label, no squish-and-bounce motion, no sudden hard cut, no garbled or illegible label text once revealed, no residue left on the finished bottle.
Prompt 15: Sneaker Product Melt
A UGC-style product shot where a single sneaker melts from the top down into a glossy puddle on a plain studio surface, built for footwear drops and sneaker-release content.
Animate this photo of a sneaker into a 7 second product clip. Hold the sneaker intact on a plain studio surface for 2 seconds. Beginning at the top of the tongue and upper, soften the shoe into a glossy, material-matched liquid, leather sections melting like warm wax and fabric sections melting like a thinner glossy fluid, running downward over the next 3 seconds while the sole remains the last solid part. End on a 2 second hold of a glossy puddle forming around the sole, the puddle faintly tinted with the sneaker's original colorway. Light with a clean studio softbox from slightly above and in front, a crisp highlight tracking each drip as it falls. No distortion during the initial hold, no squish-and-bounce motion, no sudden hard cut, no garbled or illegible text on any visible branding or tag, no flat matte texture on the melted material.
Prompt 16: Jewelry Melt-Reveal Around the Wrist
A close product shot where a plain wax-like shell around a wrist melts away to reveal a finished piece of jewelry underneath, built for a jewelry drop or styling reveal.
Animate this close photo of a wrist into a 6 second reveal clip. Hold a plain, matte, wax-colored shell wrapped around the wrist, intact and unremarkable, for 1.5 seconds. Beginning at the top edge of the shell, soften it into a glossy liquid that runs off the wrist over the next 3 seconds, revealing a finished piece of jewelry, a bracelet or watch, underneath exactly as the shell clears, the jewelry's finish and detail appearing crisp and polished the instant it is revealed. End on a 1.5 second hold of the jewelry fully visible on the wrist with a small puddle of melted shell beneath. Light with soft, warm jewelry-counter style lighting catching a sharp glint on the revealed piece. No distortion to the wrist or revealed jewelry, no squish-and-bounce motion, no sudden hard cut, no garbled or illegible engraving text, no residue left on the revealed jewelry.
The outfit-transition and reveal prompts in this group work best with two distinct end states clearly described in the prompt, the material melting away and the thing being revealed underneath, since a prompt that only describes the melt itself gives the model no reason to resolve into anything specific once the dissolve finishes.
5) Music-Video and Surrealist Artistic Melt Prompts
The last group drops the comedy and the product tie-in entirely and leans fully into the trend's visual side, saturated color, reflective liquid, and a deliberately unreal mood built for album art, concert visuals, or a pure art-account post. This is the category where the melt itself is the entire point rather than a setup for a joke or a reveal.
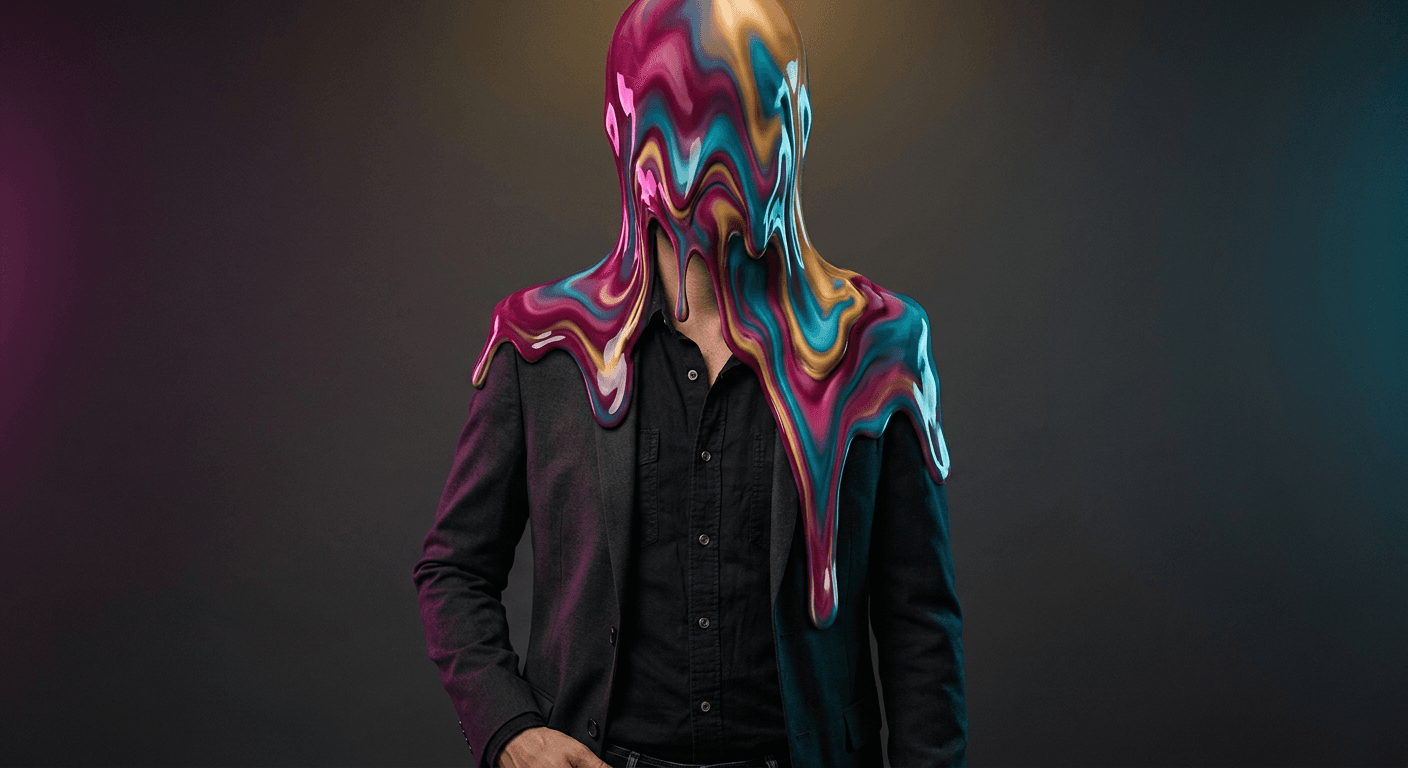
Prompt 17: Rainbow Liquid Paint Melt
A figure melting into a wash of saturated, rainbow-toned liquid rather than a realistic skin tone, built for album-cover or music-video style visuals.
Animate this portrait photo into an 8 second artistic clip. Hold the subject sharp and photographically real against a dark backdrop for 2 seconds. Beginning at the top of the head, soften the figure into a richly saturated, glossy liquid blending magenta, cyan, and gold in smooth, continuously shifting ribbons rather than flat painted stripes, dissolving downward over the next 4 seconds while the lower torso stays photographically intact. End on a 2 second hold of a pool of swirling, multi-toned liquid spreading beneath the figure, the colors still gently shifting within the pool. Light with three colored studio gel lights, magenta from the left, cyan from the right, warm gold from above, each visible as a distinct highlight on the liquid surface. No distortion during the initial hold, no flat or cartoon-like color blocking, no squish-and-bounce motion, no garbled or illegible text, no loss of the figure's basic proportions in the intact lower half.
Prompt 18: Liquid Chrome Metallic Melt
A figure rendered as if made of polished chrome, melting into a mirror-like pool of liquid metal, aimed at a more futuristic, sci-fi visual mood.
Animate this photo into a 9 second futuristic clip, rendering the subject with a polished chrome-like metallic surface instead of real skin and fabric from the very first frame. Hold the fully chrome figure sharp and highly reflective for 2 seconds. Beginning at the head, soften the chrome into a mirror-like liquid metal, running downward in thick, highly reflective ribbons over the next 5 seconds, each ribbon clearly reflecting the surrounding environment as it moves. End on a 2 second hold of a flat, mirror-smooth pool of liquid metal spreading beneath the figure, faintly reflecting the remaining intact upper portion above it. Light with a single strong studio spotlight from above, creating sharp specular highlights across every reflective surface throughout the clip. No distortion during the initial hold, no dull or matte metal texture, no squish-and-bounce motion, no garbled or illegible text, no loss of reflectivity in the pooled liquid.
Prompt 19: Mirror-Pool Reflection Melt
A figure melting downward into a still, reflective pool that mirrors the unmelted upper half of the subject back at itself for a surreal, symmetrical composition.
Animate this portrait photo into a 9 second surreal clip. Hold the subject sharp and upright for 2 seconds, standing above a perfectly still, mirror-like floor surface. Beginning at the waist downward in this framing, soften the lower half of the figure into a glossy liquid dissolving into the floor below over the next 4.5 seconds, while the still-reflective floor surface mirrors the intact upper half of the subject throughout, the reflection staying crisp even as the real lower half dissolves. End on a 2.5 second hold where the dissolved lower half has become part of the reflective pool itself, the upper half's mirrored reflection now the only trace of what used to be below. Light with a single soft, even overhead light, keeping both the real subject and its reflection equally lit throughout. No distortion to the intact upper half or its reflection, no squish-and-bounce motion, no sudden hard cut, no garbled or illegible text, no loss of the mirror surface's reflectivity.
Prompt 20: Neon Splash Concert Melt
A fast-paced, high-contrast melt lit with saturated neon color and a sharp splash as the last of the subject hits the pool below, built for concert-visual or stage-screen style content.
Animate this photo into a 6 second high-energy clip built for a stage or concert-visual mood. Hold the subject sharp and dramatically lit for 1 second. Beginning at the head, soften the figure into a saturated, glossy liquid in a single bold neon tone, dissolving downward fast over the next 3.5 seconds with a visible, energetic splash as the last section hits the surface below, a few individual droplets briefly airborne before settling. End on a 1.5 second hold of a glossy neon-toned puddle with a few last ripples still spreading outward from the splash point. Light with hard-edged saturated neon stage lighting from two directions, creating sharp colored highlights on every surface of the liquid. No distortion during the initial hold, no slow or gentle pacing that undercuts the energetic splash, no squish-and-bounce motion, no garbled or illegible text, no dull or desaturated color on the melted liquid.
If you already build visuals for live events or fan content, this closing group pairs naturally with the kind of high-energy, stage-lit framing covered in our AI concert jumbotron and fancam prompt pack, just with a liquid dissolve instead of a freeze-frame crowd shot.
How to Customize These Prompts
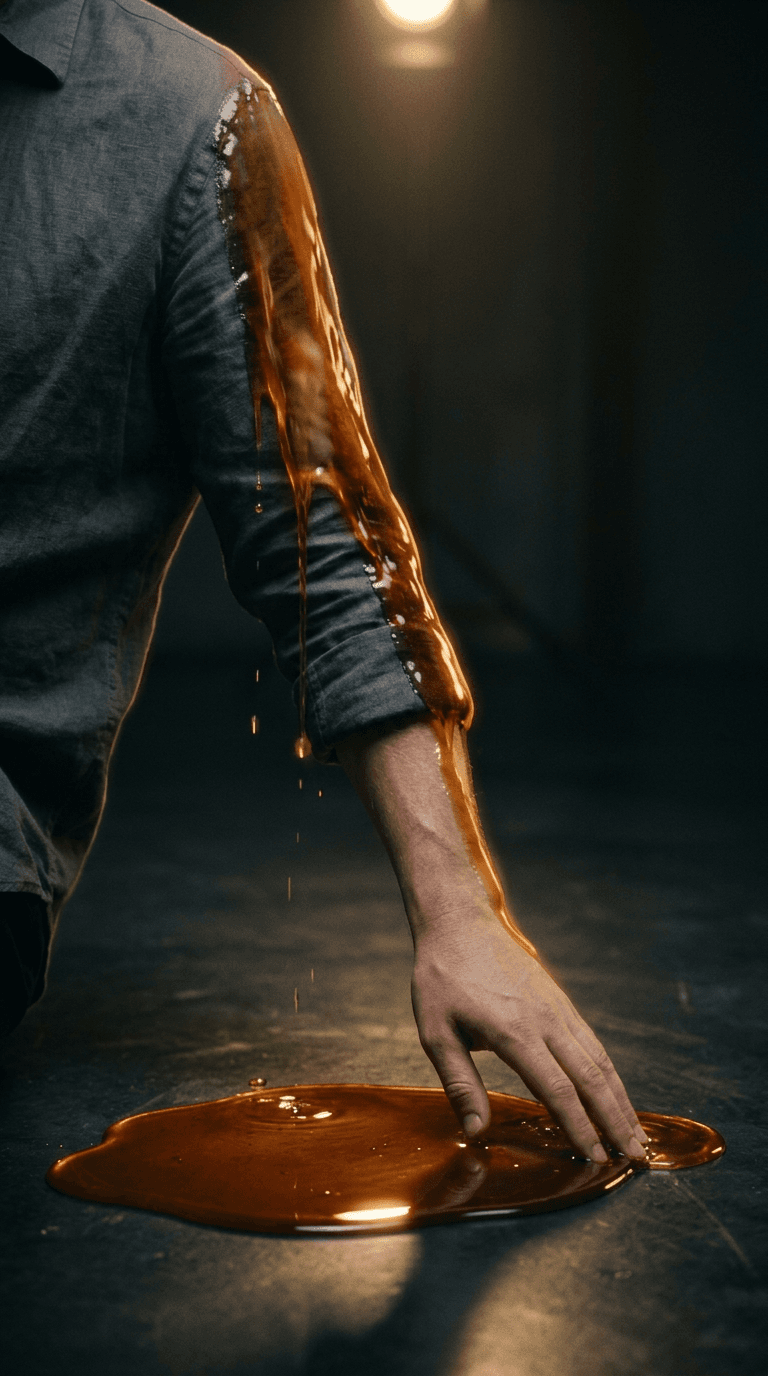
Every prompt above follows the same underlying skeleton, and understanding that skeleton matters more than memorizing any single template. Each one names a specific material for the subject, times out the clean opening hold and the dissolve as two separate beats, sets a camera framing and depth of field, names a light source, and closes with a plain-language list of failure modes to avoid. Once that pattern is clear, adapting any prompt to a new subject is mostly a matter of swapping the subject description and the material language while leaving the rest of the structure intact.
Match the material to the mood you are going for. A warm wax or candle description reads as the most literal, grounded version of the effect and works well for comedy and heatwave content. A glossy resin or liquid chrome description pushes the same motion toward something more futuristic and artistic. A watercolor or rainbow-paint description works best when the realism of the melt matters less than the saturated visual result, which is the right call for the music-video group above but a poor fit for a product-reveal clip that needs to look believable.
Adjust the timing based on how much of the joke or the reveal depends on the viewer seeing the clean starting state. A shorter hold, around one second, before the dissolve begins works for a fast-paced comedy cut. A longer hold, closer to two or three seconds, gives a product reveal or an artistic portrait time to actually register with the viewer before anything starts moving, which matters more the first time someone sees a specific clip rather than on a rewatch.
Camera distance is the other lever worth adjusting on purpose. A tight macro shot, like the cheek and eye detail prompt in the face group, works when the texture of the dissolve itself is the point. A wide shot, like the full-body pavement prompt or the chrome metallic prompt, works better when you want the viewer to watch the transformation travel across the entire subject and settle into a full puddle, since a macro framing on a large subject would lose that sense of scale entirely.
When you are adapting a prompt that relies on a real uploaded photo, whether that is a selfie, a full-body shot, or a product photo, run it through Miraflow's Cinematic AI Video Generator rather than describing the subject from scratch in text. The same swap-the-subject, keep-the-structure approach works across other trend prompt packs too, our AI decade progression prompt pack uses the same logic for a completely different visual effect, which is a useful pattern to recognize across prompt-pack posts generally.
Common Mistakes Creators Make With the Melting Effect
Starting the dissolve too early, with no clean opening beat. This is the single biggest gap between a satisfying melt clip and one that just looks like a blurry mess from the first frame. The entire appeal of this trend depends on the viewer seeing a crisp, recognizable, completely intact subject before anything starts to change, so there is a real before-and-after to register. Every one of the 20 prompts above explicitly times out a clean hold before the dissolve begins for exactly this reason.
Picking a reference photo with too much fine detail or clutter. A busy background, intricate jewelry, or a heavily patterned outfit gives the model far more surface detail to try to melt convincingly, and the result often comes out smeared or garbled rather than smoothly liquid. A plain background and a clearly visible subject, the same principle behind a good AI headshot, produces a cleaner dissolve.
Confusing a melt with a squish. These two trends get mixed up constantly because they are both tactile, physically-impossible deformation effects, but they are built on opposite motions. The Squish effect is a two-part press-and-recover, the subject compresses and then springs back to its original shape. A melt is one-directional and permanent within the clip, there is no spring-back, only a downward dissolve into a puddle. A prompt that accidentally asks for both, melting and then bouncing back, tends to confuse the model into producing neither effect cleanly.
Letting the puddle lose the subject's shape entirely. The most convincing melt clips keep a faint, recognizable echo of the original silhouette in the final puddle, a rough head-and-shoulders outline, a vague shoe shape, rather than resolving into a completely generic blob. Naming that lingering shape explicitly in the prompt, rather than assuming the model will infer it, makes a noticeable difference in how satisfying the ending frame reads.
Using flat, shadowless lighting. A convincing liquid surface needs a visible light source to actually show its glossy, reflective sheen as it pools. Flat, even lighting with no clear direction makes the final puddle read as a dull, matte shape instead of something wet and reflective, which undercuts the physical believability of the whole effect.
Generating and Animating Your Melting Posts on Miraflow
The two tools behind every prompt in this post both live inside Miraflow. Start with Miraflow's AI Image Generator whenever your starting photo needs work first, a cleaner background, a lighting fix, or a small inpainted change to one region, before you animate it. Its image-to-image and masking tools are built exactly for this kind of touch-up, adjusting a single detail without regenerating the whole photo from scratch.
Once your starting photo is ready, move it into Miraflow's Cinematic AI Video Generator and apply one of the 20 prompts above, swapped to match your actual subject. Both tools run directly in the browser with no separate software to install, so the full path from a phone photo to a posted melt clip stays inside one workspace. If the finished clip needs a hook, captions, or a short voiceover before it goes out, Text2Shorts can turn it into a complete, ready-to-post short without a separate editing pass. You can browse more prompt packs like this one on the Miraflow AI blog, and every tool named in this post lives at miraflow.ai.
Frequently Asked Questions
What exactly is the AI Melting trend? The Melting effect is an AI video trend where a photo of a person, a character, or an object is animated so it appears to soften and dissolve from the top down into a pool of liquid, skin, fabric, or surface material sagging and running like warm wax before settling into a glossy puddle. It is commonly used for heatwave humor, fashion transitions, surrealist art, and music-video style visuals.
Do I need CapCut's specific melting template to make one of these? No. CapCut does have its own dedicated melting effect and template challenge, but the prompts in this post describe the underlying technique itself rather than app-specific settings, so they work in any capable image-to-video tool, including Miraflow's Cinematic AI Video Generator.
Is the Melting effect the same as the Squish trend? They are related but built on opposite motions. Squish is a two-part press-and-recover, the subject compresses and then springs back to its original shape. Melting is one-directional, the subject dissolves downward into a puddle with no spring-back, which is exactly what gives it that final, slightly eerie quality the squish effect does not have.
Can I use this effect on something other than a face or full body? Yes. The object group above shows this works well on anything already associated with melting in the real world, a wax figure, an ice sculpture, a chocolate showpiece, a mannequin, and the fashion and product group shows it works just as well as a literal outfit or product reveal transition.
Why does my melt result look like a blurry mess instead of a clean transformation? This is almost always a missing opening beat. If the prompt does not explicitly hold a clean, undistorted subject for a second or two before the dissolve starts, the model has no reason to show a real before state, and the whole clip reads as distorted from the first frame. Add an explicit hold, the way every prompt in this post does, to fix it.
Do I need a real photo, or can I use pure text-to-video? Either works, but a real uploaded photo produces a far more convincing result for anything that needs to stay recognizable, your own face, a specific outfit, a specific product. Pure text-to-video works fine for the more generic object subjects in Group 3, like a generic wax bust or ice sculpture, where nothing specific needs to be preserved.
What length and pacing works best for this trend? Most of the clips performing well right now run somewhere between 6 and 10 seconds, long enough to register a clean opening beat and watch the dissolve travel across the subject, short enough to stay snackable on a vertical feed. A melt that takes too long to develop loses the quick, rewatchable quality that drives a lot of the trend's shares.
Conclusion
The Melting trend has held on through 2026 because the same simple mechanic works across comedy, fashion, and pure visual art without needing to be reinvented for each one. The 20 prompts above cover that full range, self-portraits and full bodies for personal and comedic content, wax and ice objects for a believable physical logic, fashion and product transitions for a genuinely useful reveal format, and saturated artistic melts for music-video and concert-style visuals.
The pattern behind a good melting prompt stays consistent across every one of them: hold a clean, recognizable subject first, name a real material for the dissolve, let the puddle keep a faint echo of the original shape, light it with a clear source so the liquid actually reads as wet and reflective, and rule out the failure modes in plain language. Clean up your starting photo with Miraflow's AI Image Generator, animate the dissolve with Miraflow's Cinematic AI Video Generator, and pick the category that actually fits what you are posting this week. The clean opening beat does more work than any other single detail in making the rest of the clip land.